[How To] Set Up RAID in BIOS
Answer
This guide shows how to create RAID volume on MSI notebooks.
Reminder:
* To ensure performance, it is recommended to use SSDs that shares the same brand, specification, and capacity when setting up RAID volume.
* Back up all personal data in the original SSD before starting RAID setup to avoid any data lost.
* Contact MSI local service center if SSD upgrade service is needed.
1. Power on the laptop, press “DEL” key once MSI logo is displayed to enter BIOS menu.
2. Select “Storage Information” under Main menu to double-check the SSDs are recognized correctly.


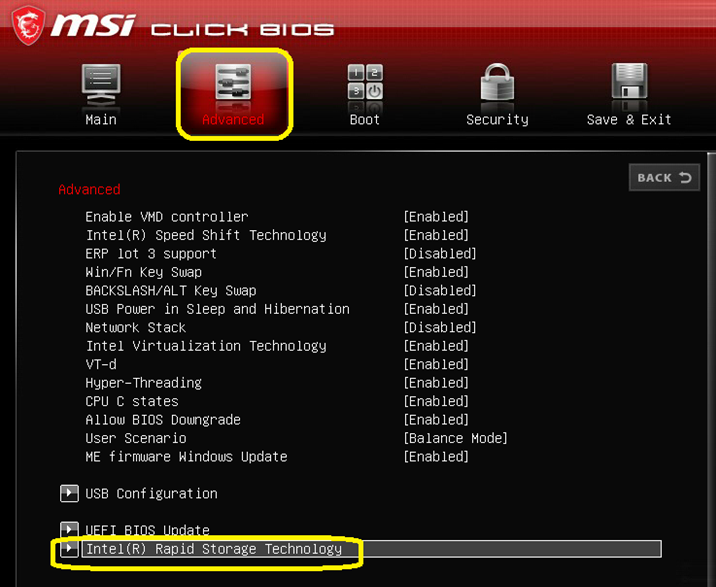
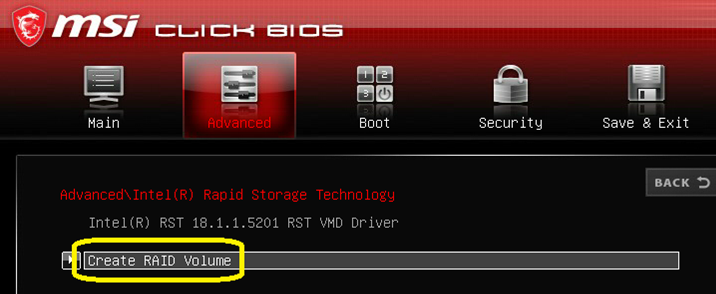
3. Go to “Advanced”, select “Intel® Rapid Storage Technology” à select “Create RAID Volume”
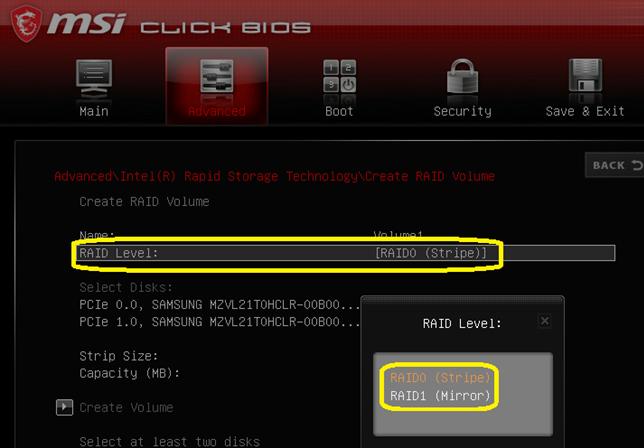
4. Select “RAID Level” à select “RAID0” or “RAID1” per preference.
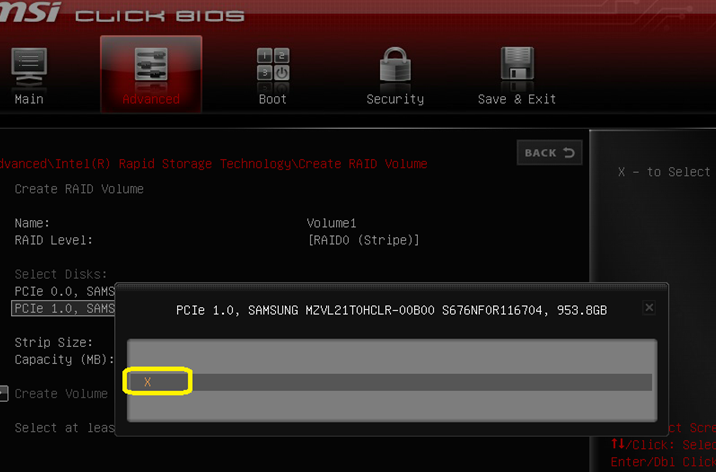
5. Select each SSD, choose mark “X” and press enter.
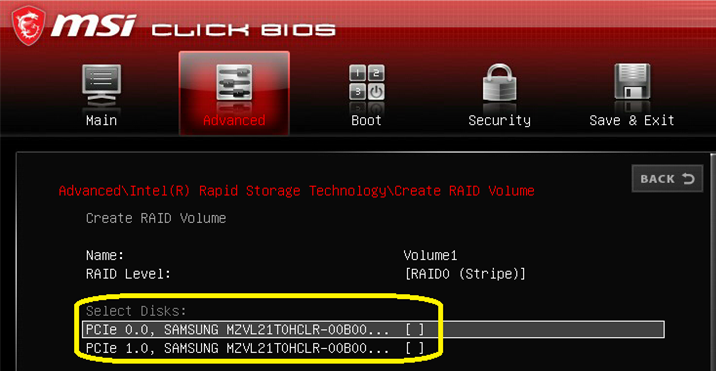
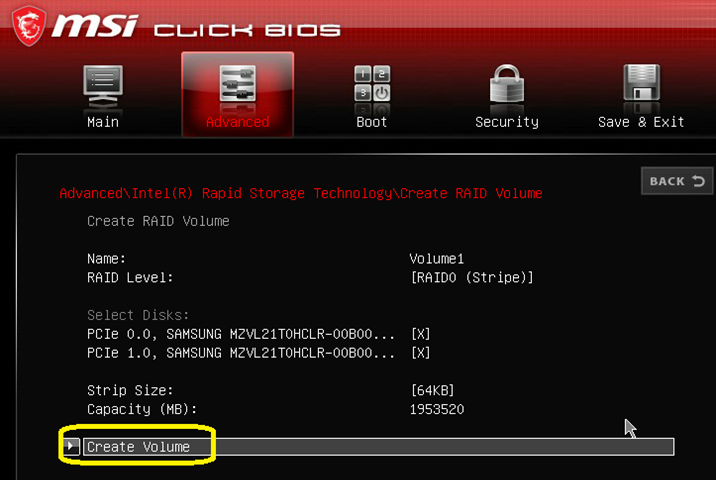
6. Once both SSD are marked with “X”, select “Create Volume” à “Volume1, RAID0 (Stripe)”.

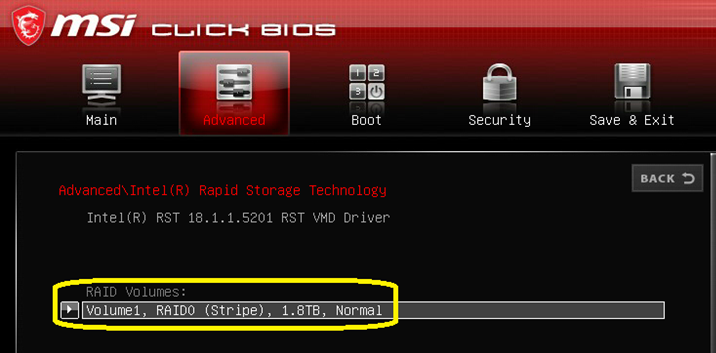
7. Once you see RAID volume information, go to “Save & Exit”, select “Save Changes and Reset” à select “Yes”. RAID is successfully setup.

*Notebook models that equipped with Intel 13th generation or earlier processor, please click "More details..." at the bottom of the page for more details.