Hello everyone, today we are going to introduce our newly launched handheld product that offers the most user-friendly experience on the planet– The MSI Claw. In this article, we’ll show you how to use the MSI Claw, including the main update, installation, and setup. Let's get right into it!
Step 1 - Power On
First of all, you have to connect the adapter to the Claw. An orange light will indicate that it is charging. When the battery is full, the light will turn white. Then you can press the power button on the left to turn the Claw on.
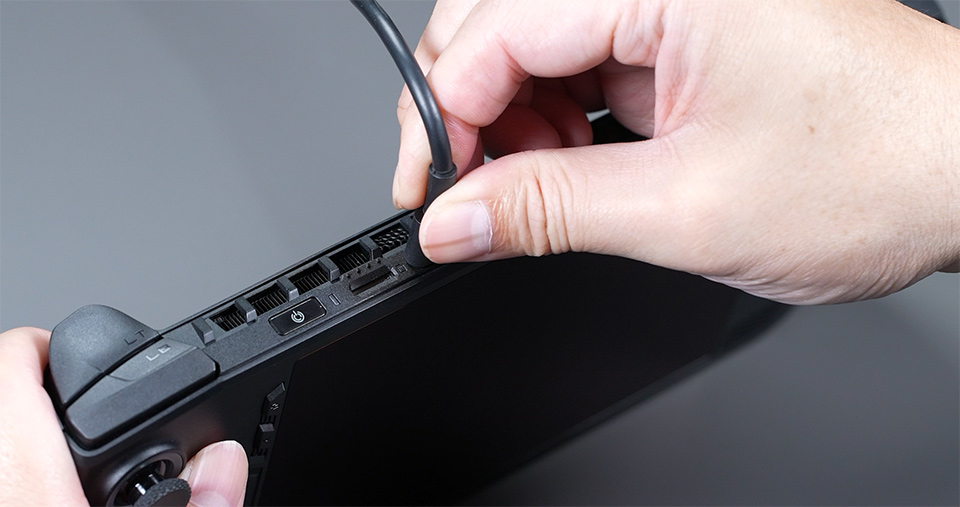
? Connect the adaptor to the Claw, and press the start button on the left.
Step 2 - Update the Claw (Windows update)
The second step is to update the Claw. There are two main updates: one is for Windows and the other one is through MSI Center M. Updates are important because they boost the performance and make everything run smoother.
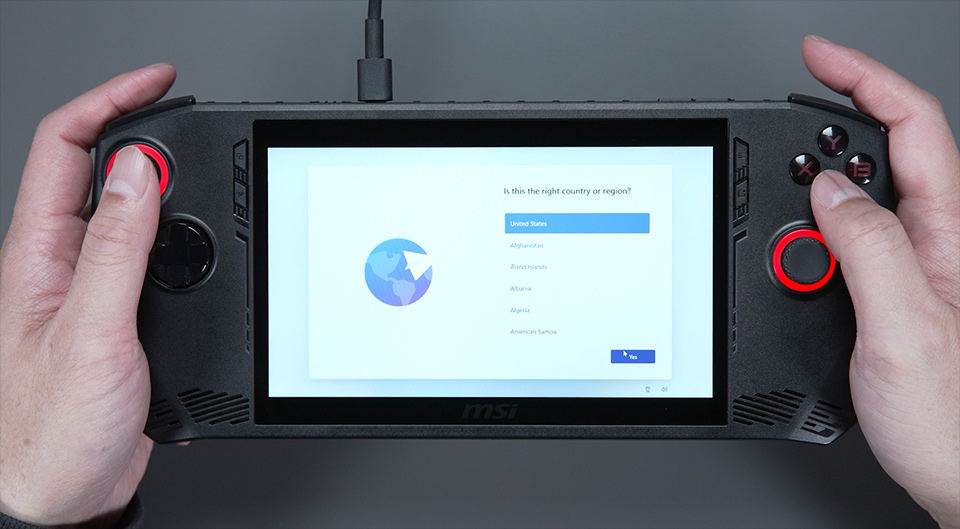
Since we're running Windows on the Claw, we need to do the initial setup which is also called OOBE (Out of Box Experience). You can use the Joystick or the D-pad to control the cursor or selection.

? Control the cursor by Joystick or the D-pad.
Moving on to the OOBE part, select the Region and keyboard layout.
It will prompt you to connect to Wi-Fi. You can enter the password via the touchscreen.
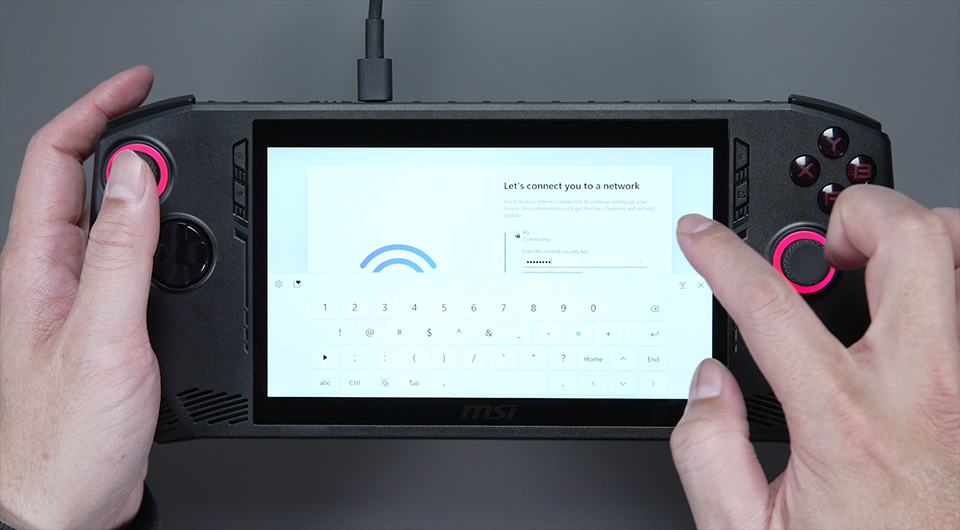
? Connect to a Wi-Fi network and enter the password.
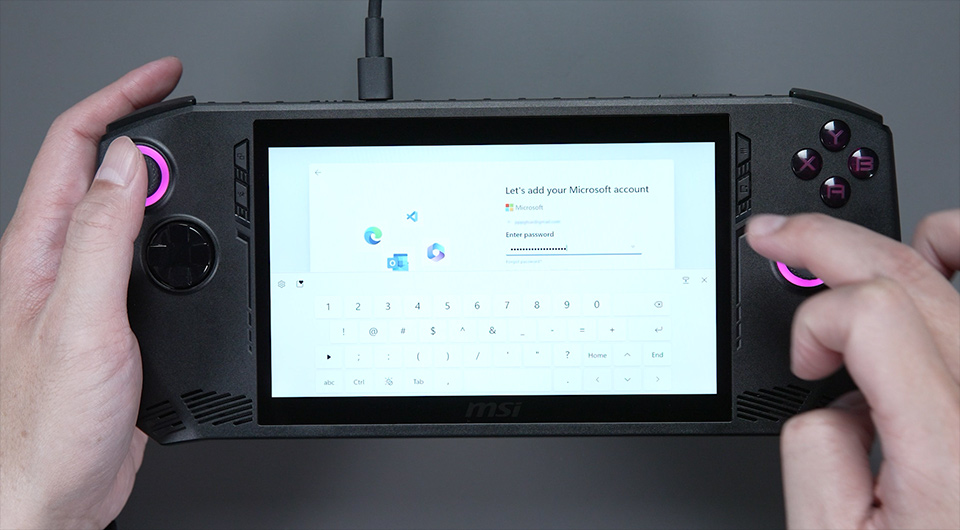
Next, double-click the input field to activate the virtual keyboard and sign in with your Microsoft account. Finally, set up your fingerprint and PIN code for faster and more secure access. Now sit back and relax while Windows updates itself.
? Set up fingerprint and PIN code for protection.
Please note that there will be several reboots during the windows updates process. This is normal. Don’t Panic!
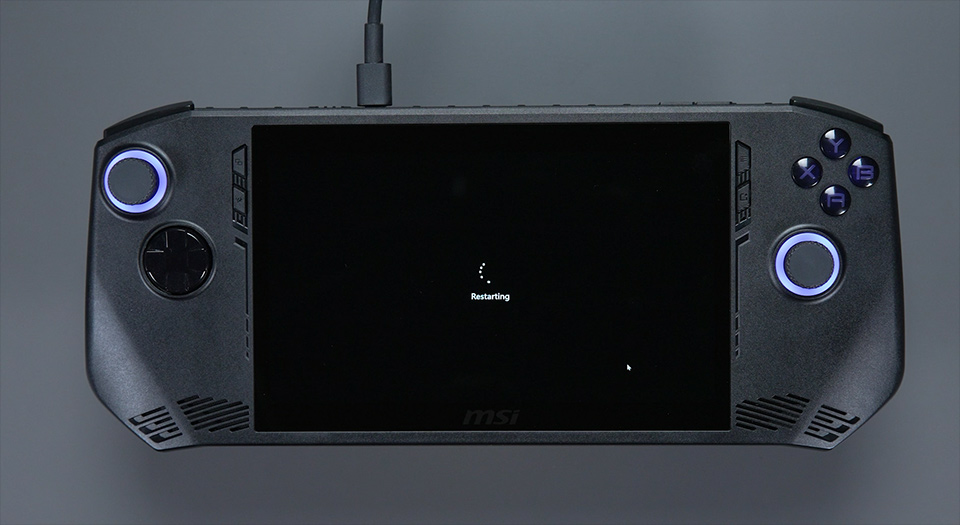
? There will be several reboots during updates. Be patient!
Once we're done, it will bring us directly to the Windows desktop.
You can also go to Windows update to check if there are any other features that haven't been updated yet.
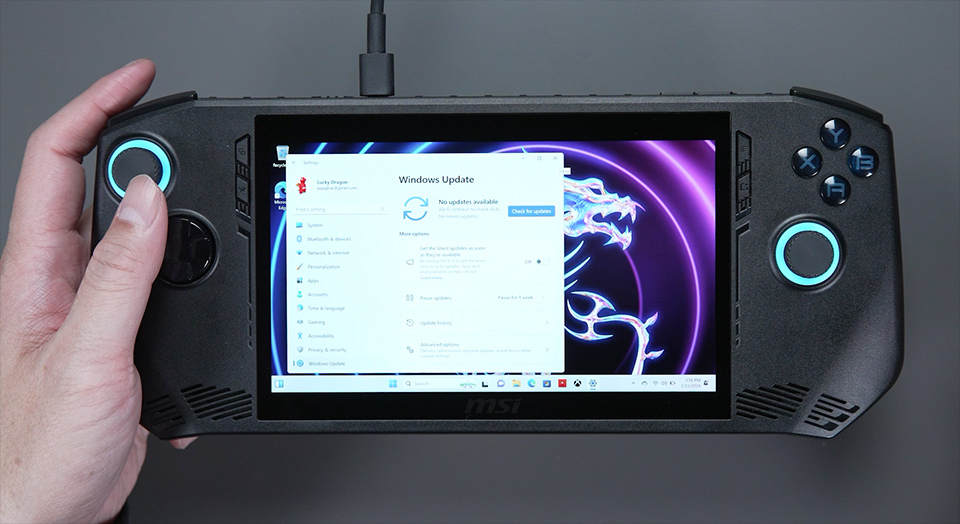
? Check for Windows Update to keep your device running smoothly and securely.
Step 3 - Update the Claw (Update from MSI Center M)
Now, we'll check for the other updates to get the latest features and drivers from MSI Center M. To get started, download the MSI Center M first by clicking the icon on the task bar, and you can start the installation process, then agree to the privacy policy and service terms. The download will finish in no time!
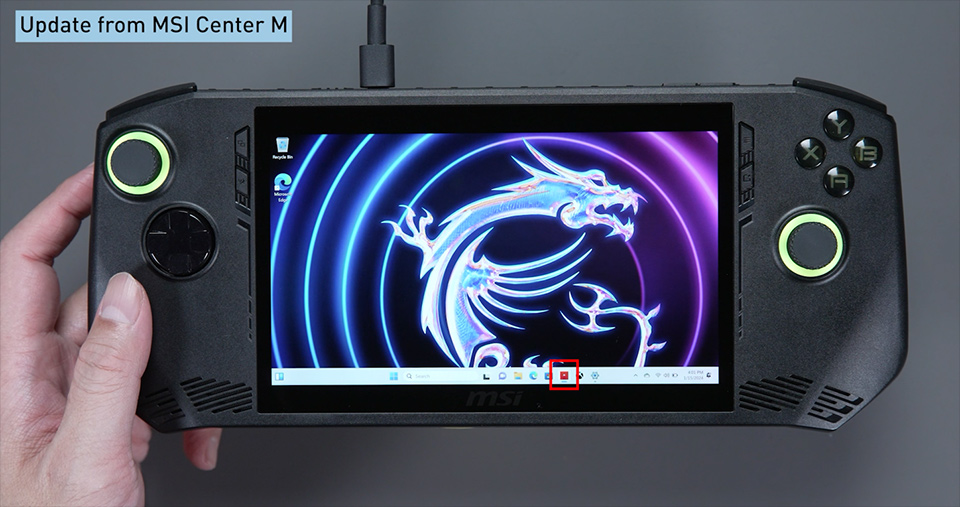
? Click the icon on task bar, and you can start the MSI Center M installation process.
To quickly launch MSI Center M, press the second button on your left. Select “Settings”, then “Live Update” to get the latest updates from MSI Center M. Next, click on “Scan”, select all the available items, and click on “Update”. Note that some of the drivers may require manual installation.
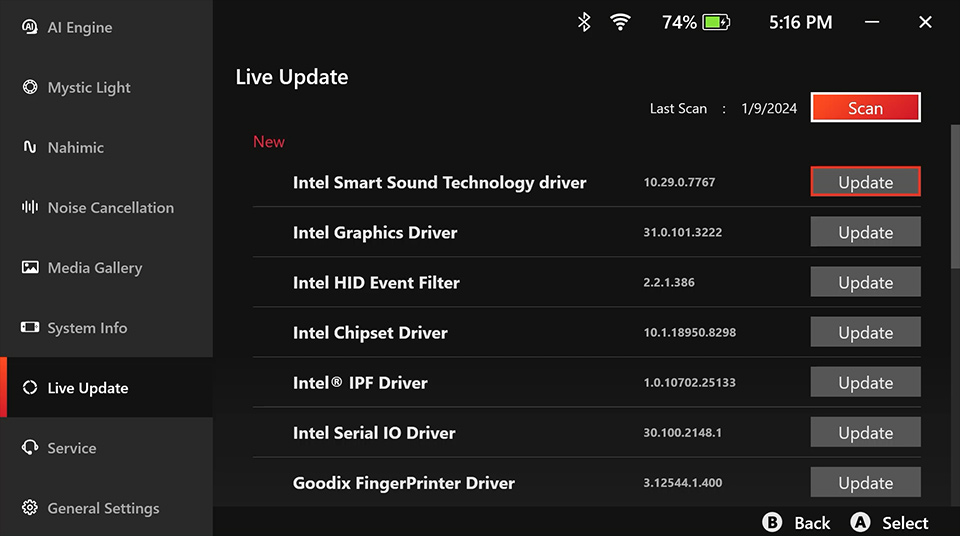
? To check if the driver has been updated, select “Settings” and then choose "Live Update".
To install them, press the “MSI Center M” button again to jump back to the desktop. Then, the folder will pop up, and you can select a driver and install it by double-clicking on it. If you see multiple drivers in the “Live Update” folder, you’ll have to do the same for the remaining items as well. You may be prompted for a few restarts during the process.
All right! That’s it! You have done the main updates and installation for Claw.
Learn more about the MSI Claw https://msi.gm/SB03DF35