How to fix application errors and system crashes?
When the application or the program crash occurs, it means the issue caused under the OS environment, the PC boots normally to the Windows. It is recommended to do the hardware troubleshooting first, check the power connectors and graphics card installation. Then do a cross testing. If the problem persist, please go with software troubleshooting methods.
Hardware troubleshooting methods
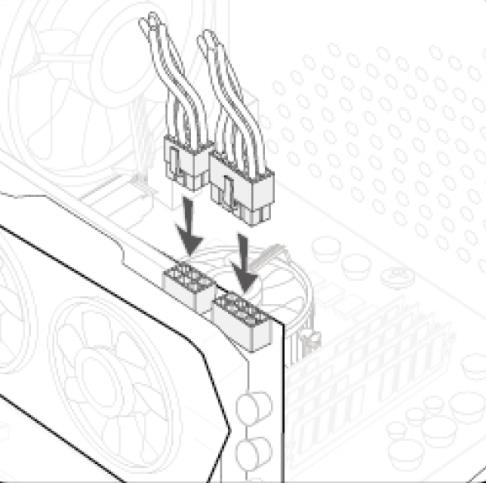
Check the power connectors
Make sure the graphic card is tightly attached to the motherboard PCI-E slot. The 6pin or 8pin power connector is properly inserted to the graphics card.
(If the graphics card has multiple separate connectors, please load all of them to make sure the power is fully supplied)
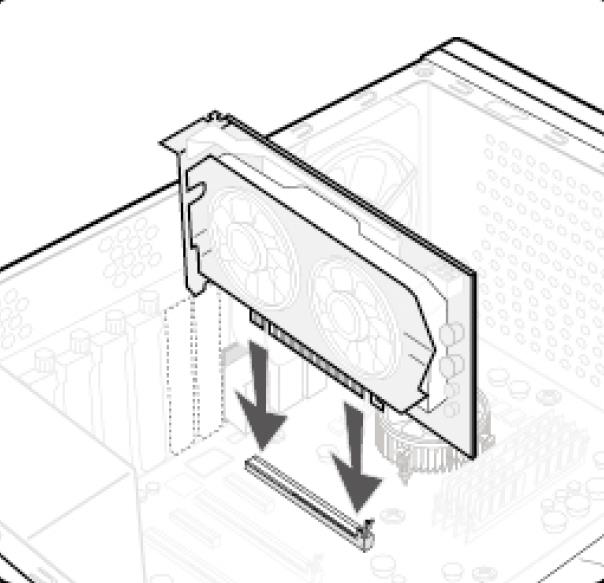
Check graphics card installation
Remove the graphic card and assemble again to make sure the PCIe pins are well-attached to the motherboard.
Cross testing
Connect the display cable directly to the motherboard, use the integrated CPU graphics to start up the PC. If the screen remains in black, that means the problem is with the motherboard not the graphics card./p>
Note: if your PC has no embedded or integrated CPU graphics, try cross-testing with another PC to confirm the cable/monitor functions/p>

Software troubleshooting
We recommend you to uninstall the current driver before installing the new driver. It is recommended to install the driver released on MSI official website, which has been running a full testing to make sure it is fully compatible to our product. Comparing with the chip vendor’s driver version, the vendor will release the newest version on their website, which can also be used as an option. Running a Windows Update could also fix the problem.
Note: please uninstall the existing driver before performing a new driver installation process.
- Uninstall the existing driver
- Download and update MSI official website’s driver version
- Download and update the driver from chip vender
- Update drivers in Windows 10
Uninstall the existing driver
Method 1: Uninstall the driver with Device Manager
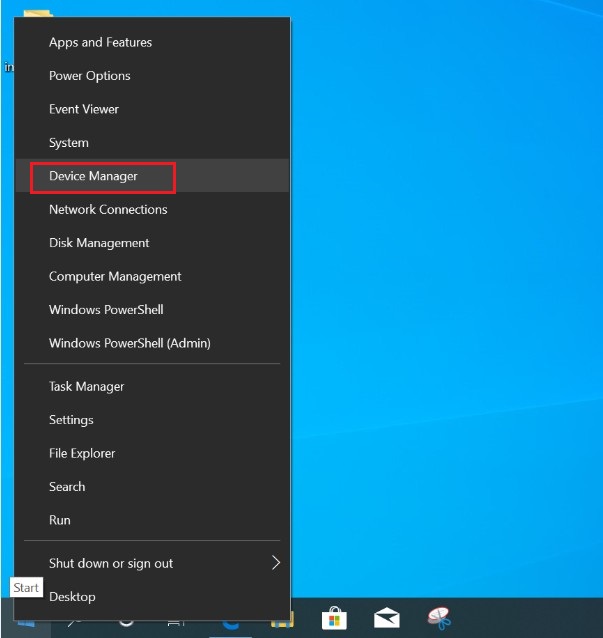
In Windows OS right click [Windows] → Choose [Device Manager]
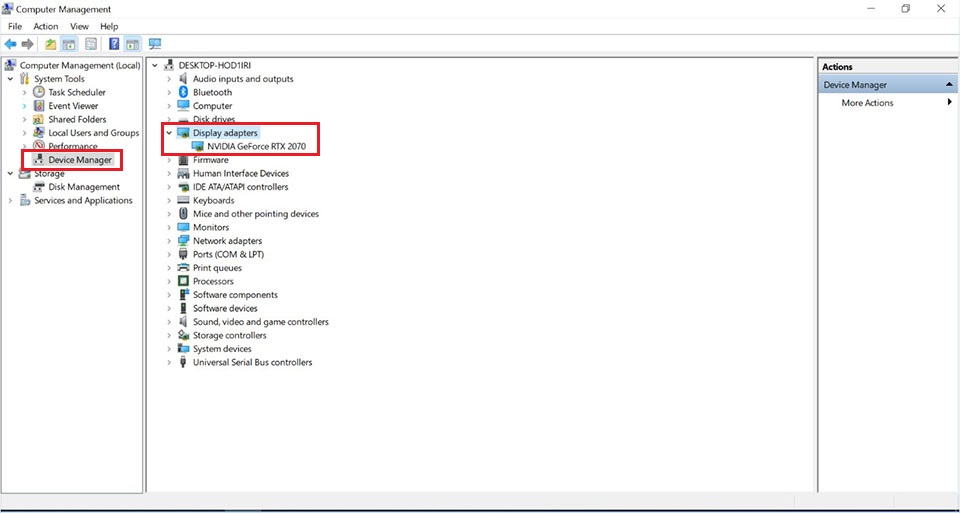
Click [Device Manager], find out [Display adapters]
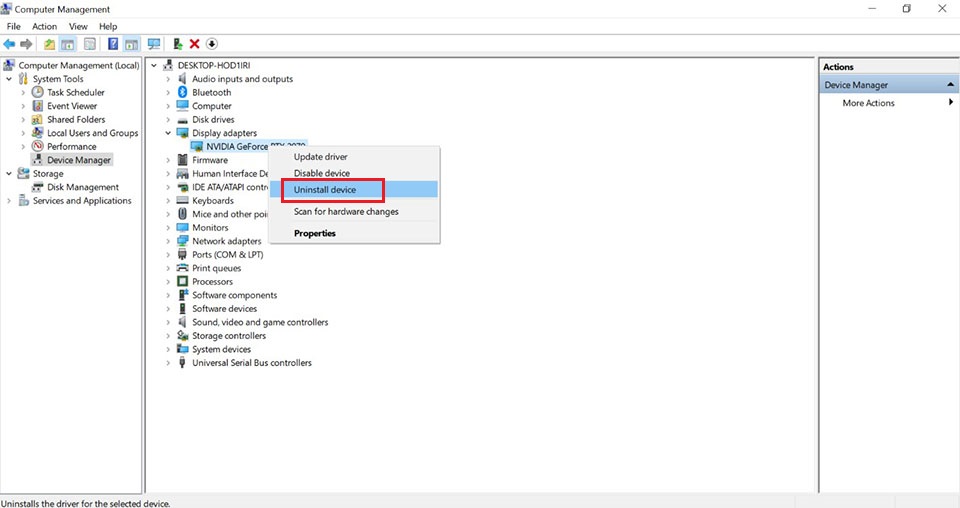
Right click the driver, choose [Uninstall device]
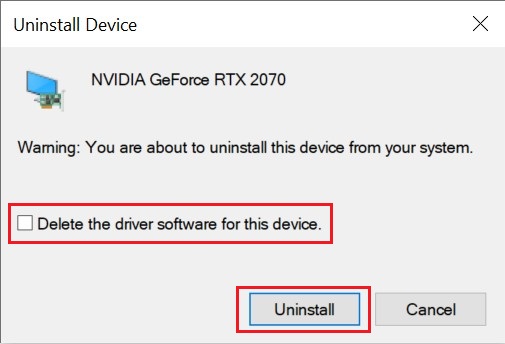
Tick [Delete the driver software for this device], click [Uninstall]
Method 2: Uninstall the driver with Apps and Features
Right-click on Windows Start icon > Select [Apps and Features]
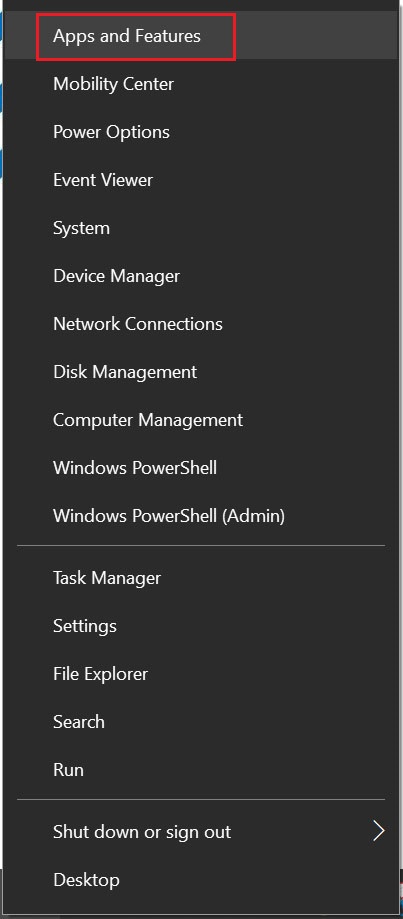
Input the chipset vendor like “NVIDIA” or “AMD” to search the driver to uninstall

Download and update MSI official website’s driver version
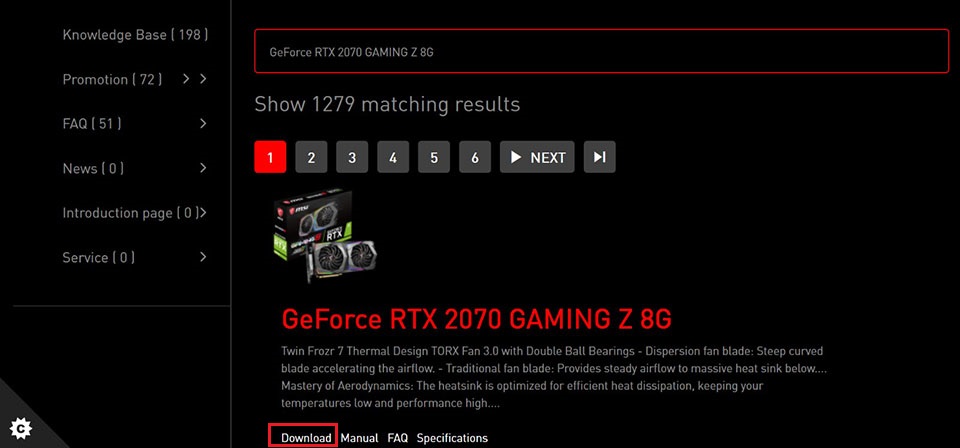
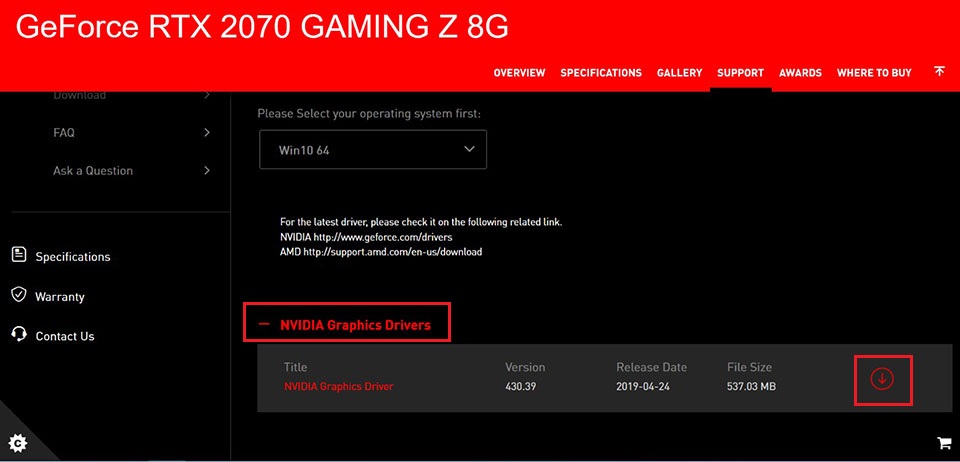
Go to MSI official website, search your motherboard and download the driver
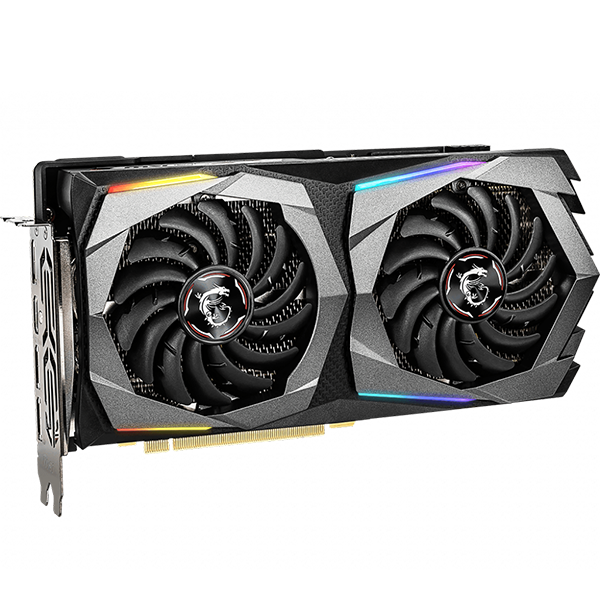
For example: RTX 2070 GAMING Z 8G, input the product name on the top right search bar, press [Enter]

The matching result for “GeForce RTX 2070 GAMING Z 8G” will show up, select [Download] to enter download section.
Go to [Driver] tab
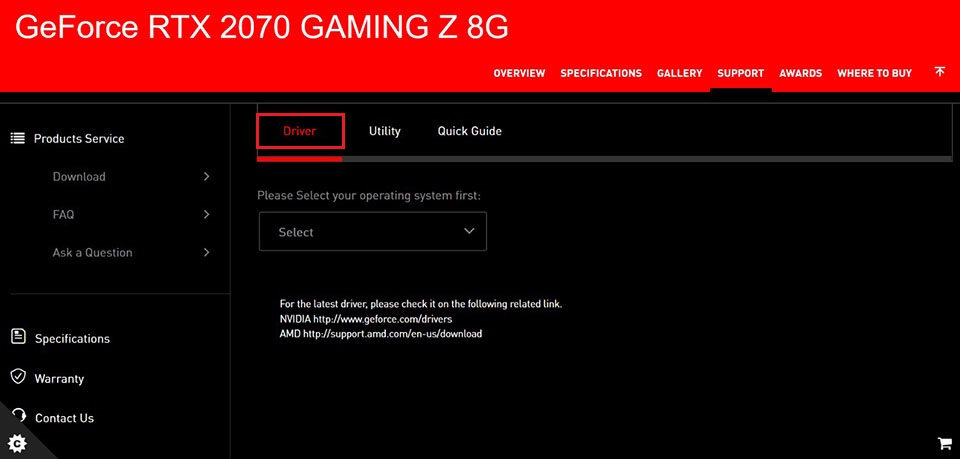
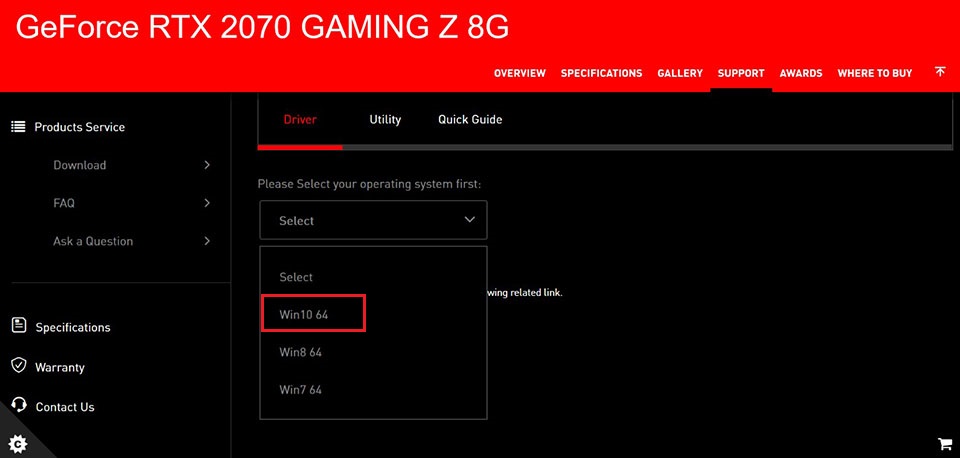
Select your operating system
Click and Expand [NVIDIA Graphics Drivers] → click on the arrow pointing down icon to download
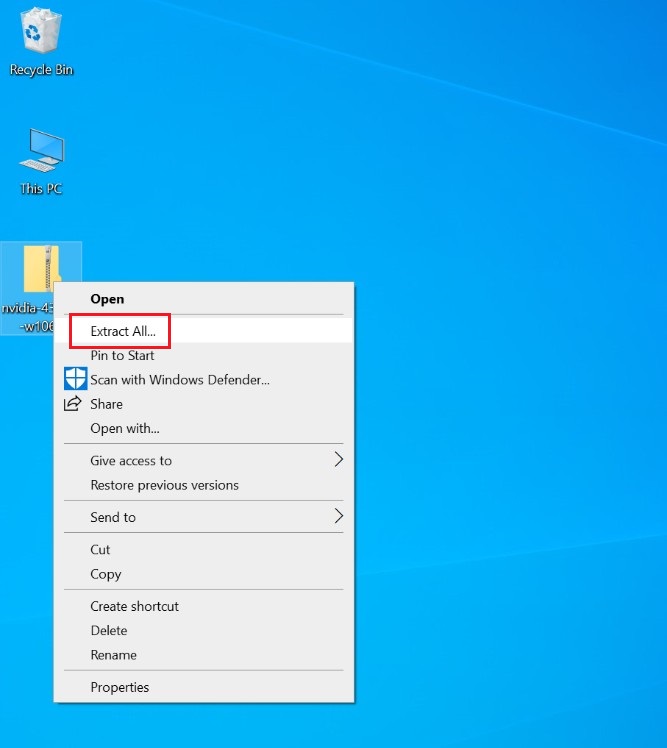
Right-click on the downloaded file and select [Extract All] to unzip the compressed folder
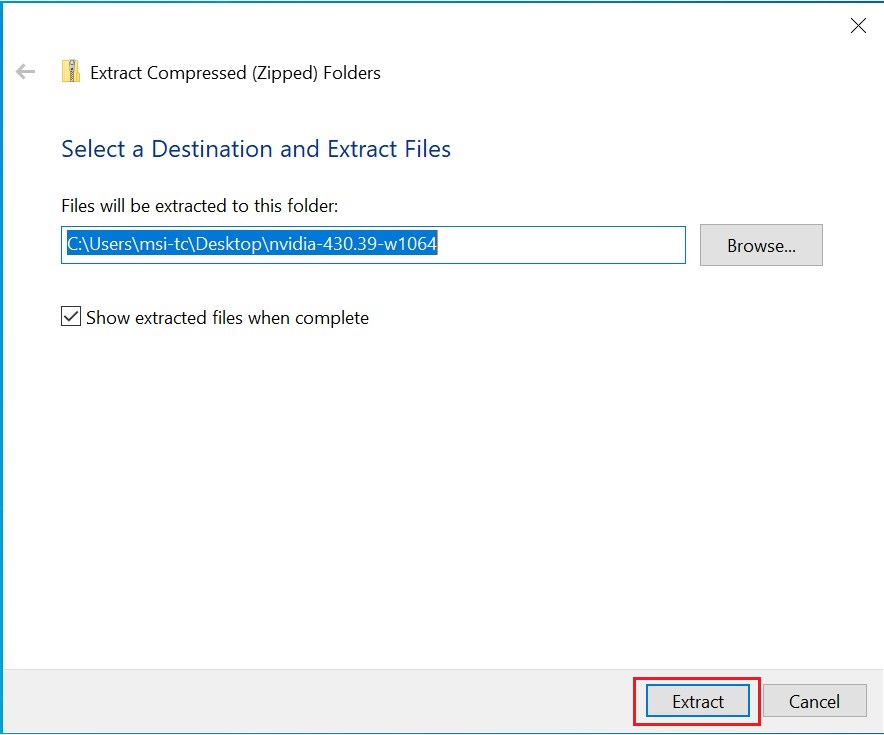
Click [Extract]
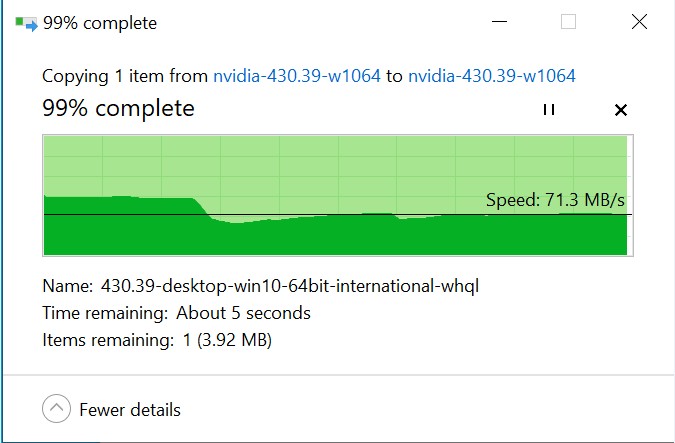
Unzipping the file
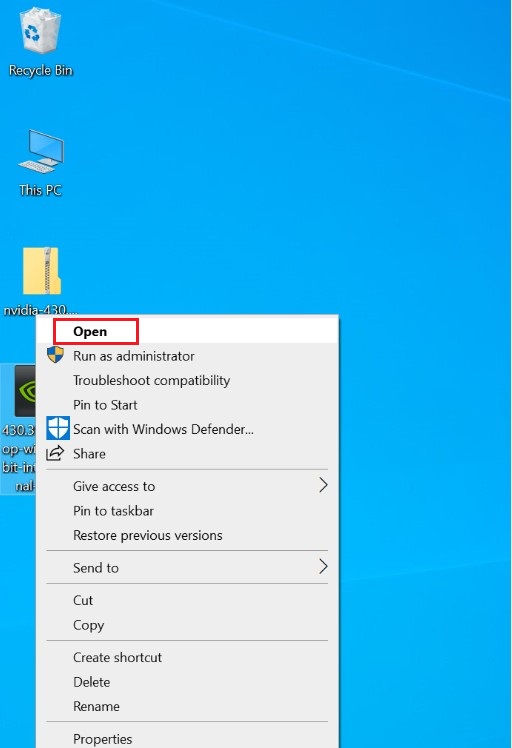
Right click on the file, click [Open] to start the driver installation
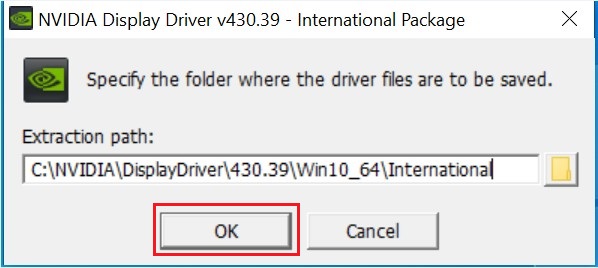
Click [OK] and select [NEXT] in the next step
Wait for the system compatibility check

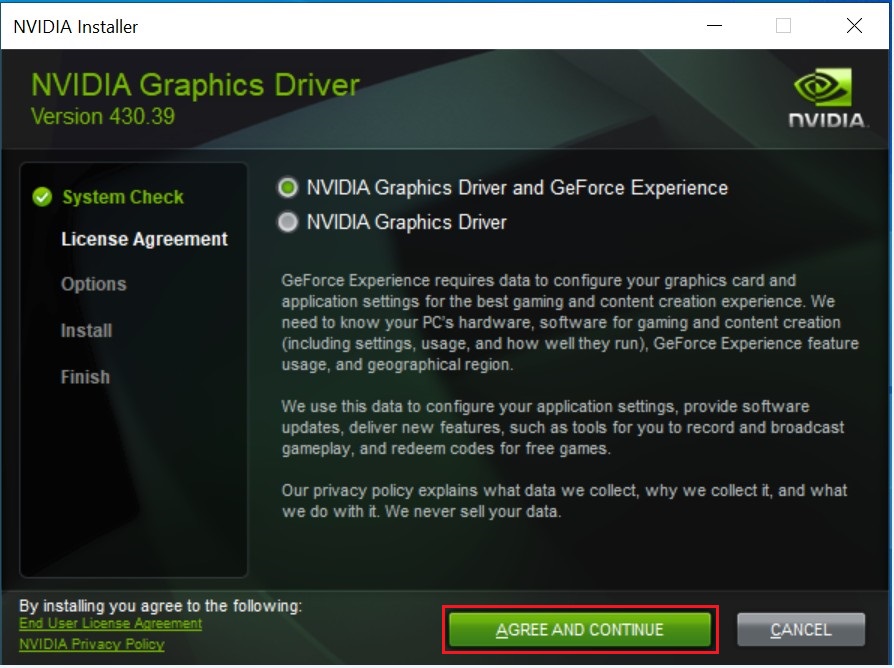
Click [AGREE AND CONTINUE]
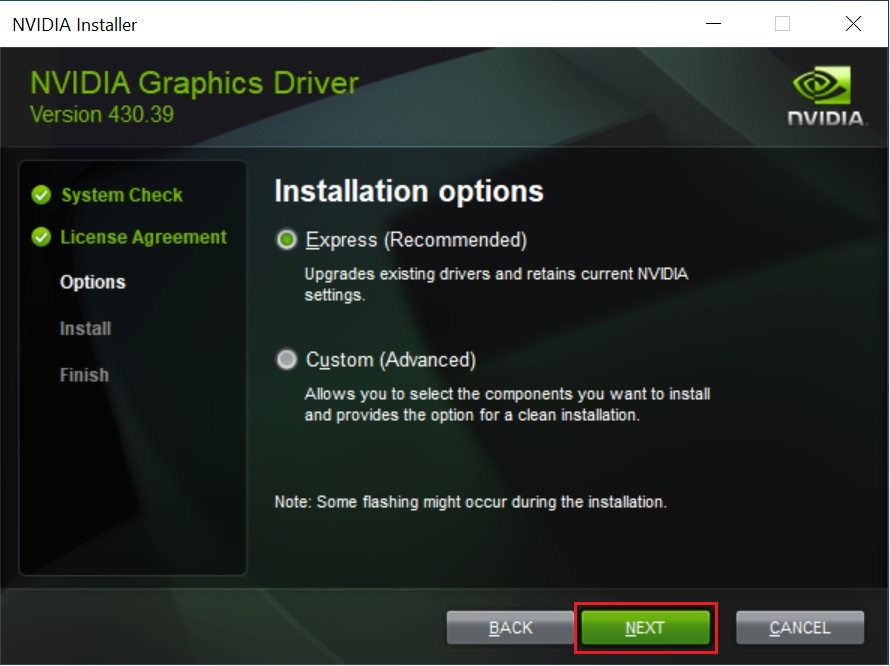
Click [NEXT]
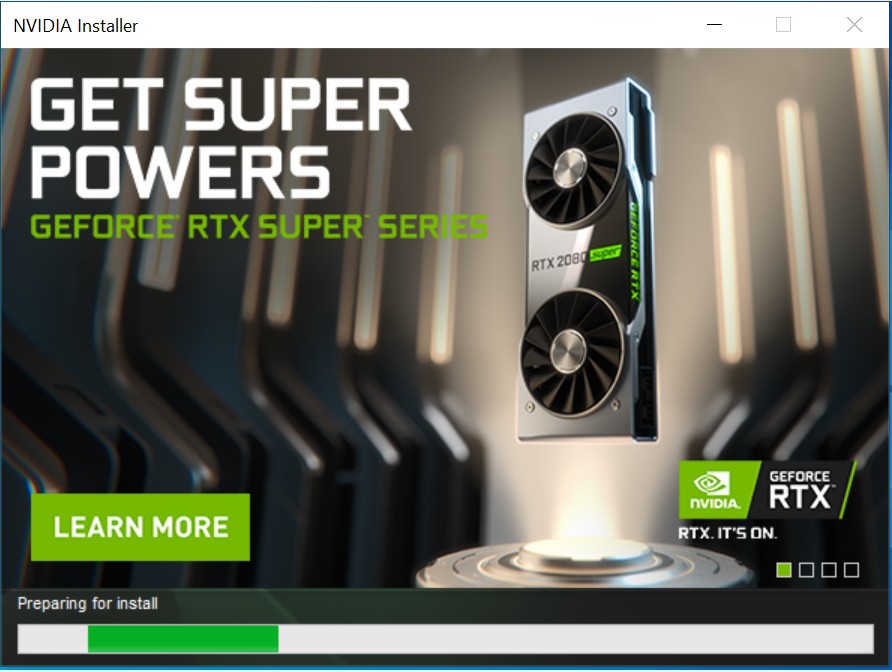
Preparing for install
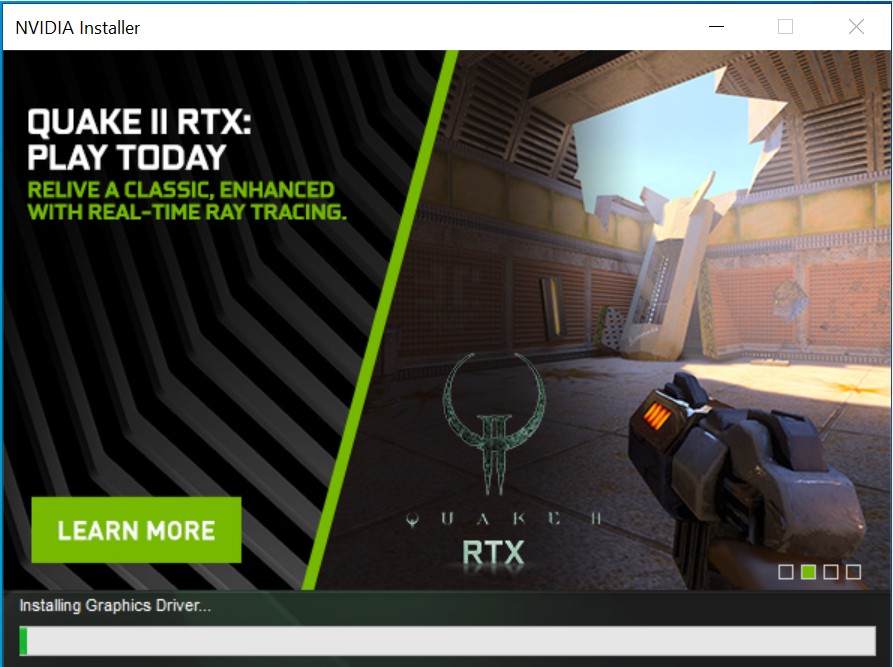
Installing the driver (Note: The screen will goes black a few times during the process, which is normal)
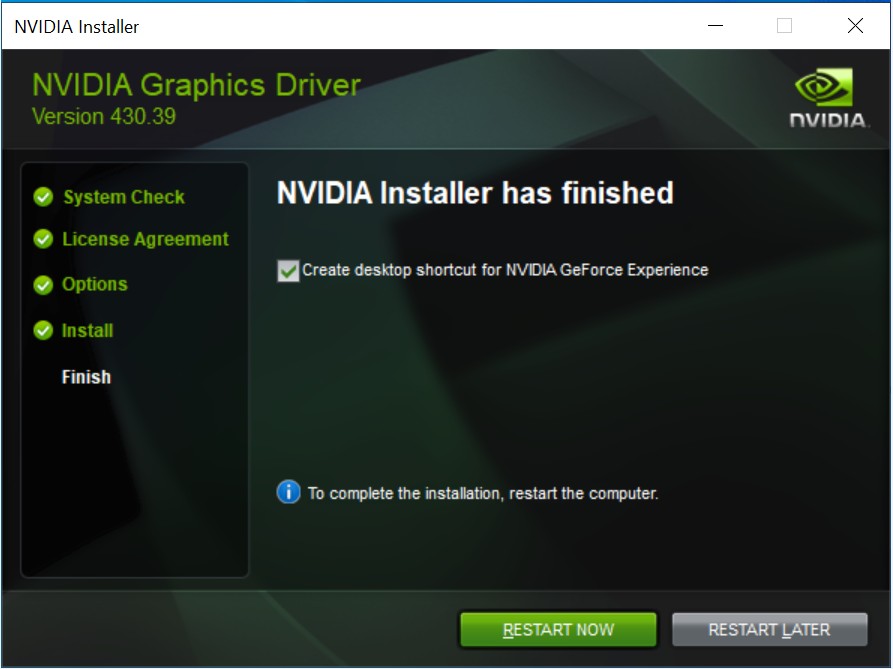
Installation complete, please click [Restart Now] to restart your PC and it’s all good to go.
Download and update the driver from chip vender
Visit AMD or NVIDIA official website to download and install the driver.
NVIDIA official web: https://www.geforce.com.tw/drivers
AMD official web: https://www.amd.com/zh-hant/support
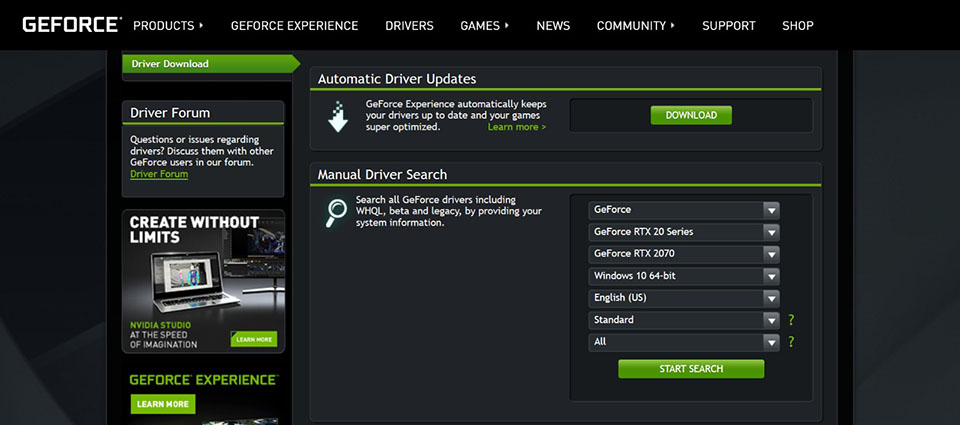
- Take GeForce RTX 2070 GAMING Z 8G as an example
- Visit Nvidia's website, click [DRIVERS], choose [DRIVERS]
Select the graphics card. (Take GeForce RTX 2070 GAMING Z 8G as the example)

Click [START SEARCH]
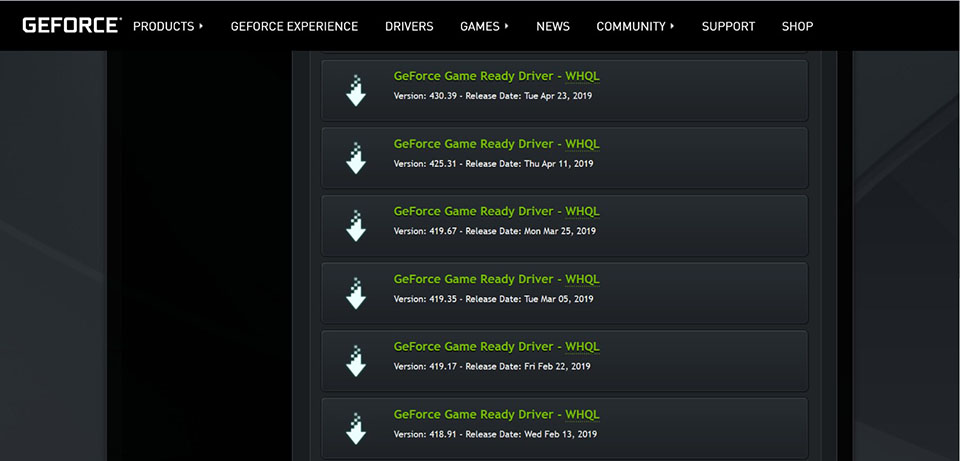
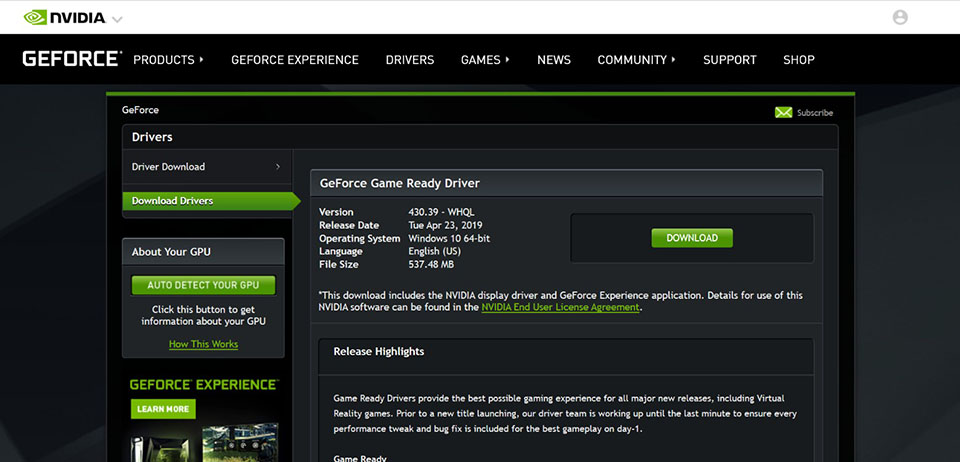
Download the newest version
Click [DOWNLOAD]
Right-click on the downloaded file and select [Extract All] to unzip the compressed folder
Click [Extract]
Extracting the file
Right click on the file, click [Open] to start the driver installation
Click [OK] and select [NEXT] in the next step
Wait for the system compatibility check
Click [AGREE AND CONTINUE]
Click [NEXT]
Preparing for install
Installing the driver (Note: The screen will goes black a few times during the process, which is normal)
Installation complete, please click [Restart Now] to restart your PC and it’s all good to go.
Download and update the driver from chip vender
Make sure that your device is connected to the internet.
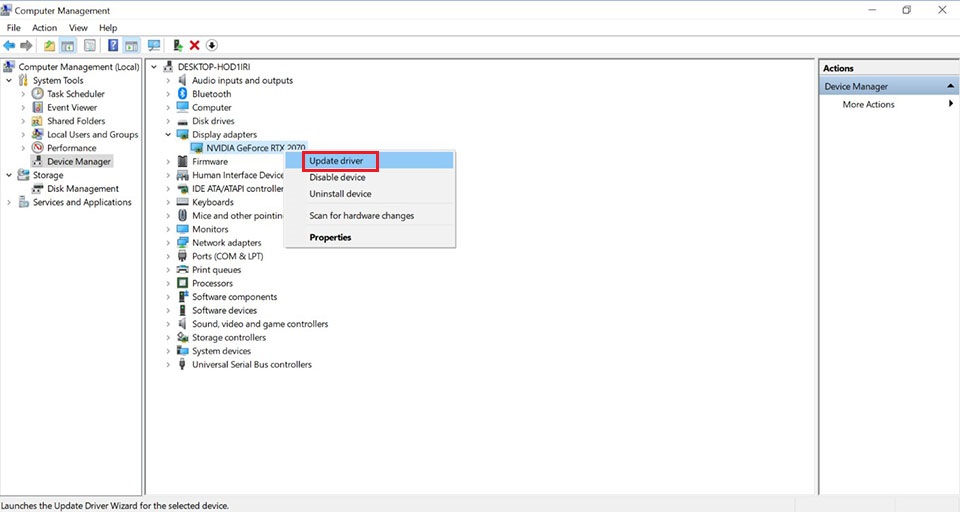
Right click on [Windows Start icon] → select [Device Manager]
Expand [Display adapters]
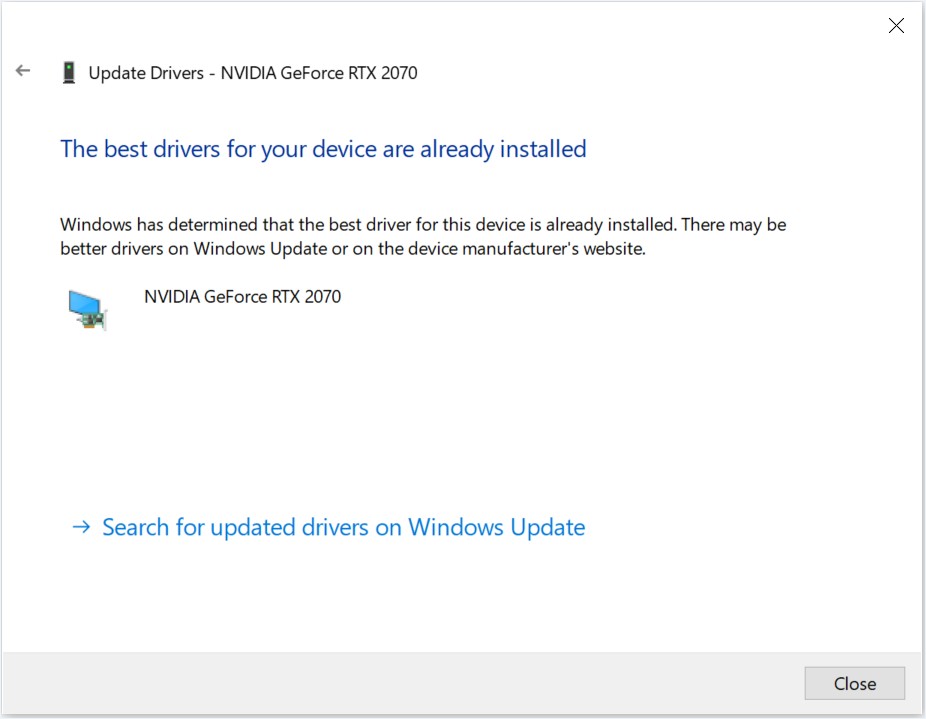
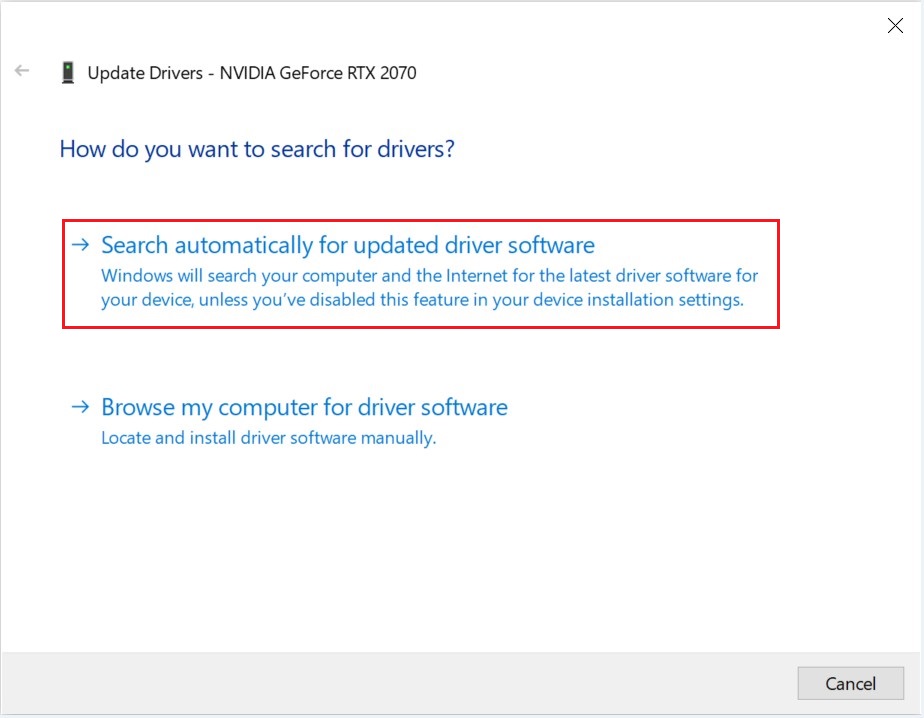
Right click on the graphic device under Display adapters, click on [Update driver]
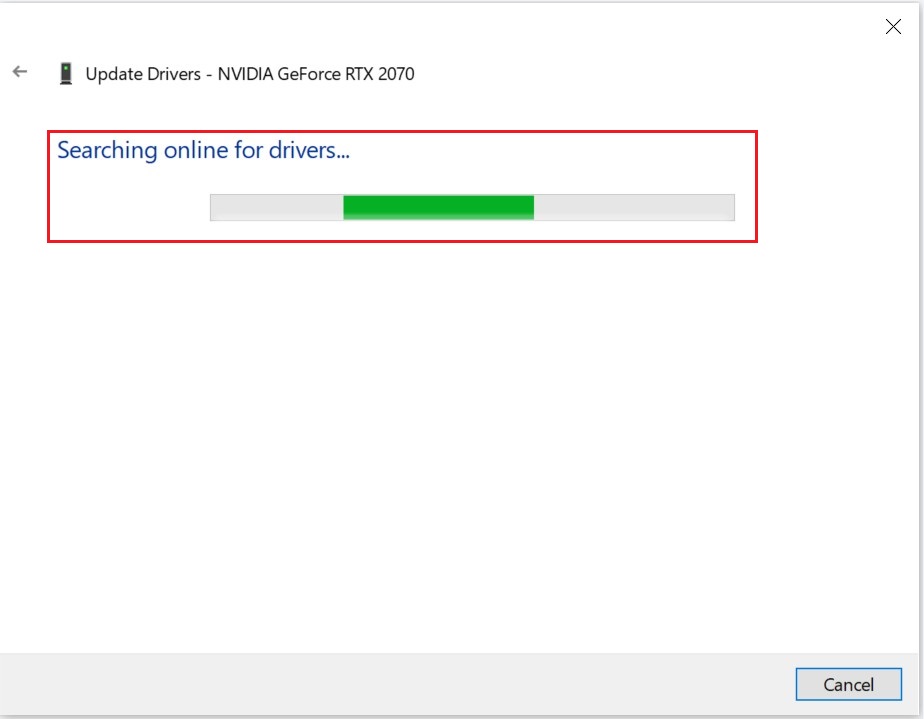
Select [Search automatically for updated driver software]
It is connecting to Microsoft server to search the available drivers
Driver installation complete, you may close this window.