#YesWeBuild
HOW TO BUILD A PC
PC Building Guide For Beginners
What Do You Need to Build a PC
Building a PC can feel just like assembling a LEGO set, once you get to know the PC parts, everything starts to make sense. Let's walk through the essential components and some simple tips to help you choose the right ones.


Free PC Building Guide!
Get your beginner-friendly eBook with a checklist covering 20+ must-check points to make PC building easier!

HOW TO BUILD A PC
Step-by-step build guide in 10 steps
Time to get your hands dirty! With hands-on PC building instruction, even first timers can build a gorgeous, high-performance PC. Grab a screwdriver, up that passion, and you're good to go!
Step 0: Preparation
- A magnetic screwdriver.
- Zip ties /velcro strips and a pair of scissors.
- A clean non conductive surface to build your PC onto
- Take a deep breath, read the manuals first and you are good to go!

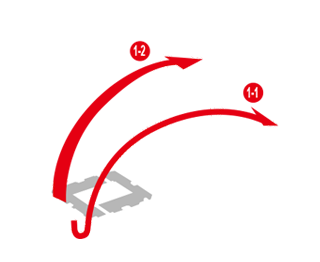
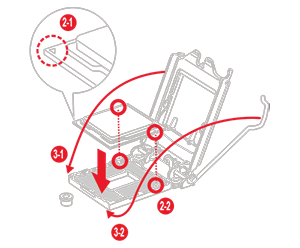
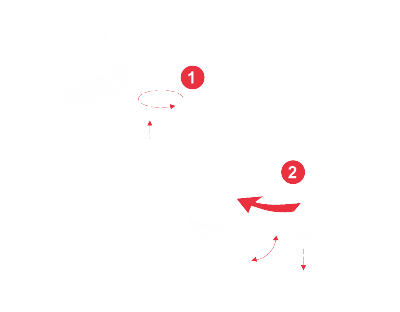
- Unlatch the lid of the CPU socket
- Line up the notch printed on the CPU with the guiding notches marked on the socket; carefully insert it inside the socket.
- Make sure the CPU is placed properly then resecure the lid and lock it onto the processor.
- Pressing down on the lock/ejector tabs that are located at the ends of the memory sockets.
- Check the memory module installation order outlined in the motherboard manual, and make sure which the suggested matching memory slots to insert first.
- Push the modules down until you hear a "click" as the retention clips are pushed upwards and lock the module.
- Move and fasten riser screws on the M.2 standoffs.
- Take your drive and gently insert it into the connector at a 45 degree angle.
- Push it down towards the standoff and secure it with the little screw.
- Mount the back- plate onto the back of the motherboard. (If you have one)
- Apply a drop of thermal paste onto the surface of the processor.
- Connect CPU Fan Cable to CPU Fan Header on the motherboard.
- Lower the cooler vertically and place it onto the CPU. Secure it evenly tightening opposite screws progressively.
Make sure the screws are tightened properly, and the pressure applied at the corners is even to avoid CPU damage and cooling performance degradation.

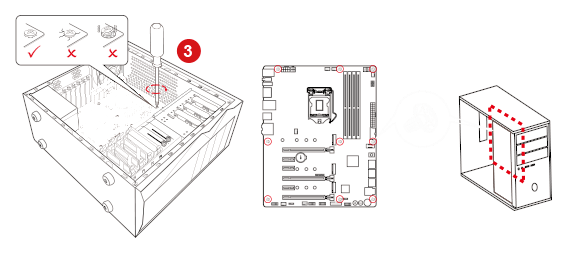
- Install I/O shield onto the back of the case.
- Take your motherboard and gently lower it at a 45 degree angle into the case.
- Match the mounting holes on the motherboard with the stand-offs in the case.
- Secure the board with each of the supplied screws.
- Connect one end of the SATA cable to the SATA ports on the motherboard, and the other end to the storage devices (2.5'' inches / 3.5'' inches) itself.
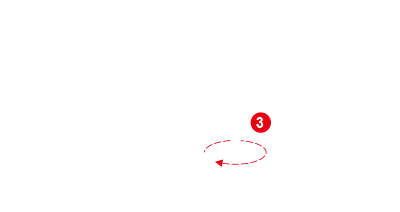
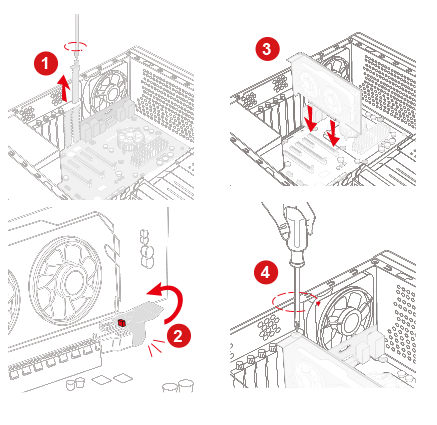
- Remove rear PCI-e bracket from the case.
- Unlock the PCI-e slot by pushing back the small plastic lock located at the rear of the slot.
- Hold the card with two hands, lower the graphics card into the case and install into the PCI-e slot of the motherboard.
- Secure the graphics card with the required screws to the back of the chassis.
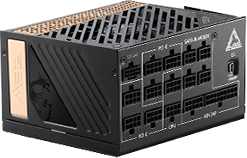
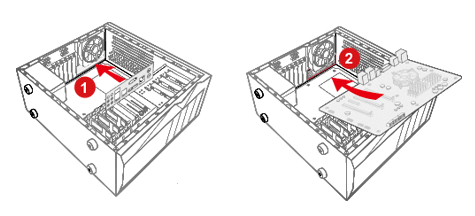
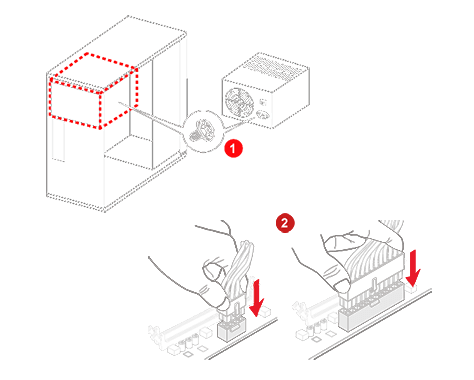
- Mount the Power Supply (PSU) into the chassis and secure it with all the screws.
- Connect 24-pin power connector into the socket on the motherboard
- Connect 8-pin CPU power connector to motherboard.
- Connect 16-pin 12V-2x6 cable to graphics card (or 6+2 Pin PCI-E, depending on the model).
- Clip in your SATA power connecter to hard drive
- Connect other Molex connectors(with 4 horizontal pins) to extra devices (e.g. DVD/CD Optical Drives).
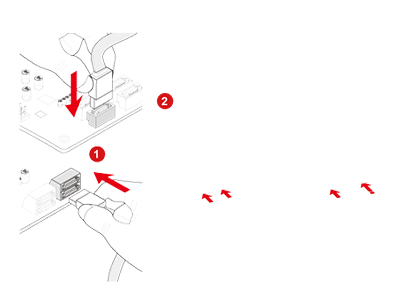
- Connect Power switch / Reset switch / Power LED/ HDD(Hard Drive) LED Cable to motherboard JFP1 Pin header.
- Connect front USB cables to USB pin headers on the motherboard
- USB 3.0 / USB 2.0 Cable to USB 3.0 / USB 2.0 Pin Header.
- Front USB Type-C Cable to Front USBType-C Pin Header
- Connect the Audio(Speaker) Cable to the motherboard JAUD1 Pin header.
- Prepare an 8GB or larger USB 3.0 thumb drive.
- On a computer with internet access, go to the Microsoft website and download the Windows 11 Installation Media Tool*. Run the tool and choose to create the installation image on the USB. This process will format your USB drive.
- Plug the installation USB into a rear USB 3.0 port on your new PC, use a fast red USB 3.2 port or a standard blue USB 3.0 port. On first boot, the BIOS screen may appear, just save and exit. The system should restart and boot from the USB, allowing you to proceed with Windows 11 installation.
- Insert the OS device (CD / USB)
- Follow the OS installation steps
- Download the latest device driver from the website and Install.
Build the Best PC for Your Needs
Do you need a PC for intense gaming or heavy multimedia production? Here are some tips you need to take into consideration when choosing your parts.
Gaming PC

Streaming PC

RGB PC
AI PC

Useful Tools to Plan Your PC Parts

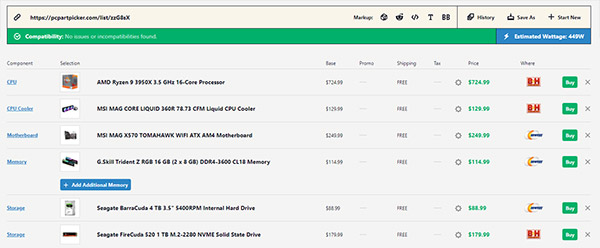
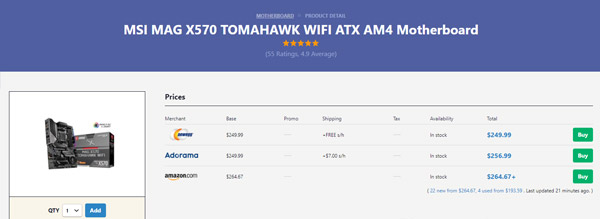
When you finish creating your ideal build list, there are a few functions you can leverage:
Save. Simply save the planned build list first if you haven't yet decided to purchase your rig at the moment. Take your
time to compare and consider.
Share. You can share the build list with your friends or to the forum for more opinion on you PC build.
Buy. An easy button for you to buy the product on the e-tailer sites with ease.
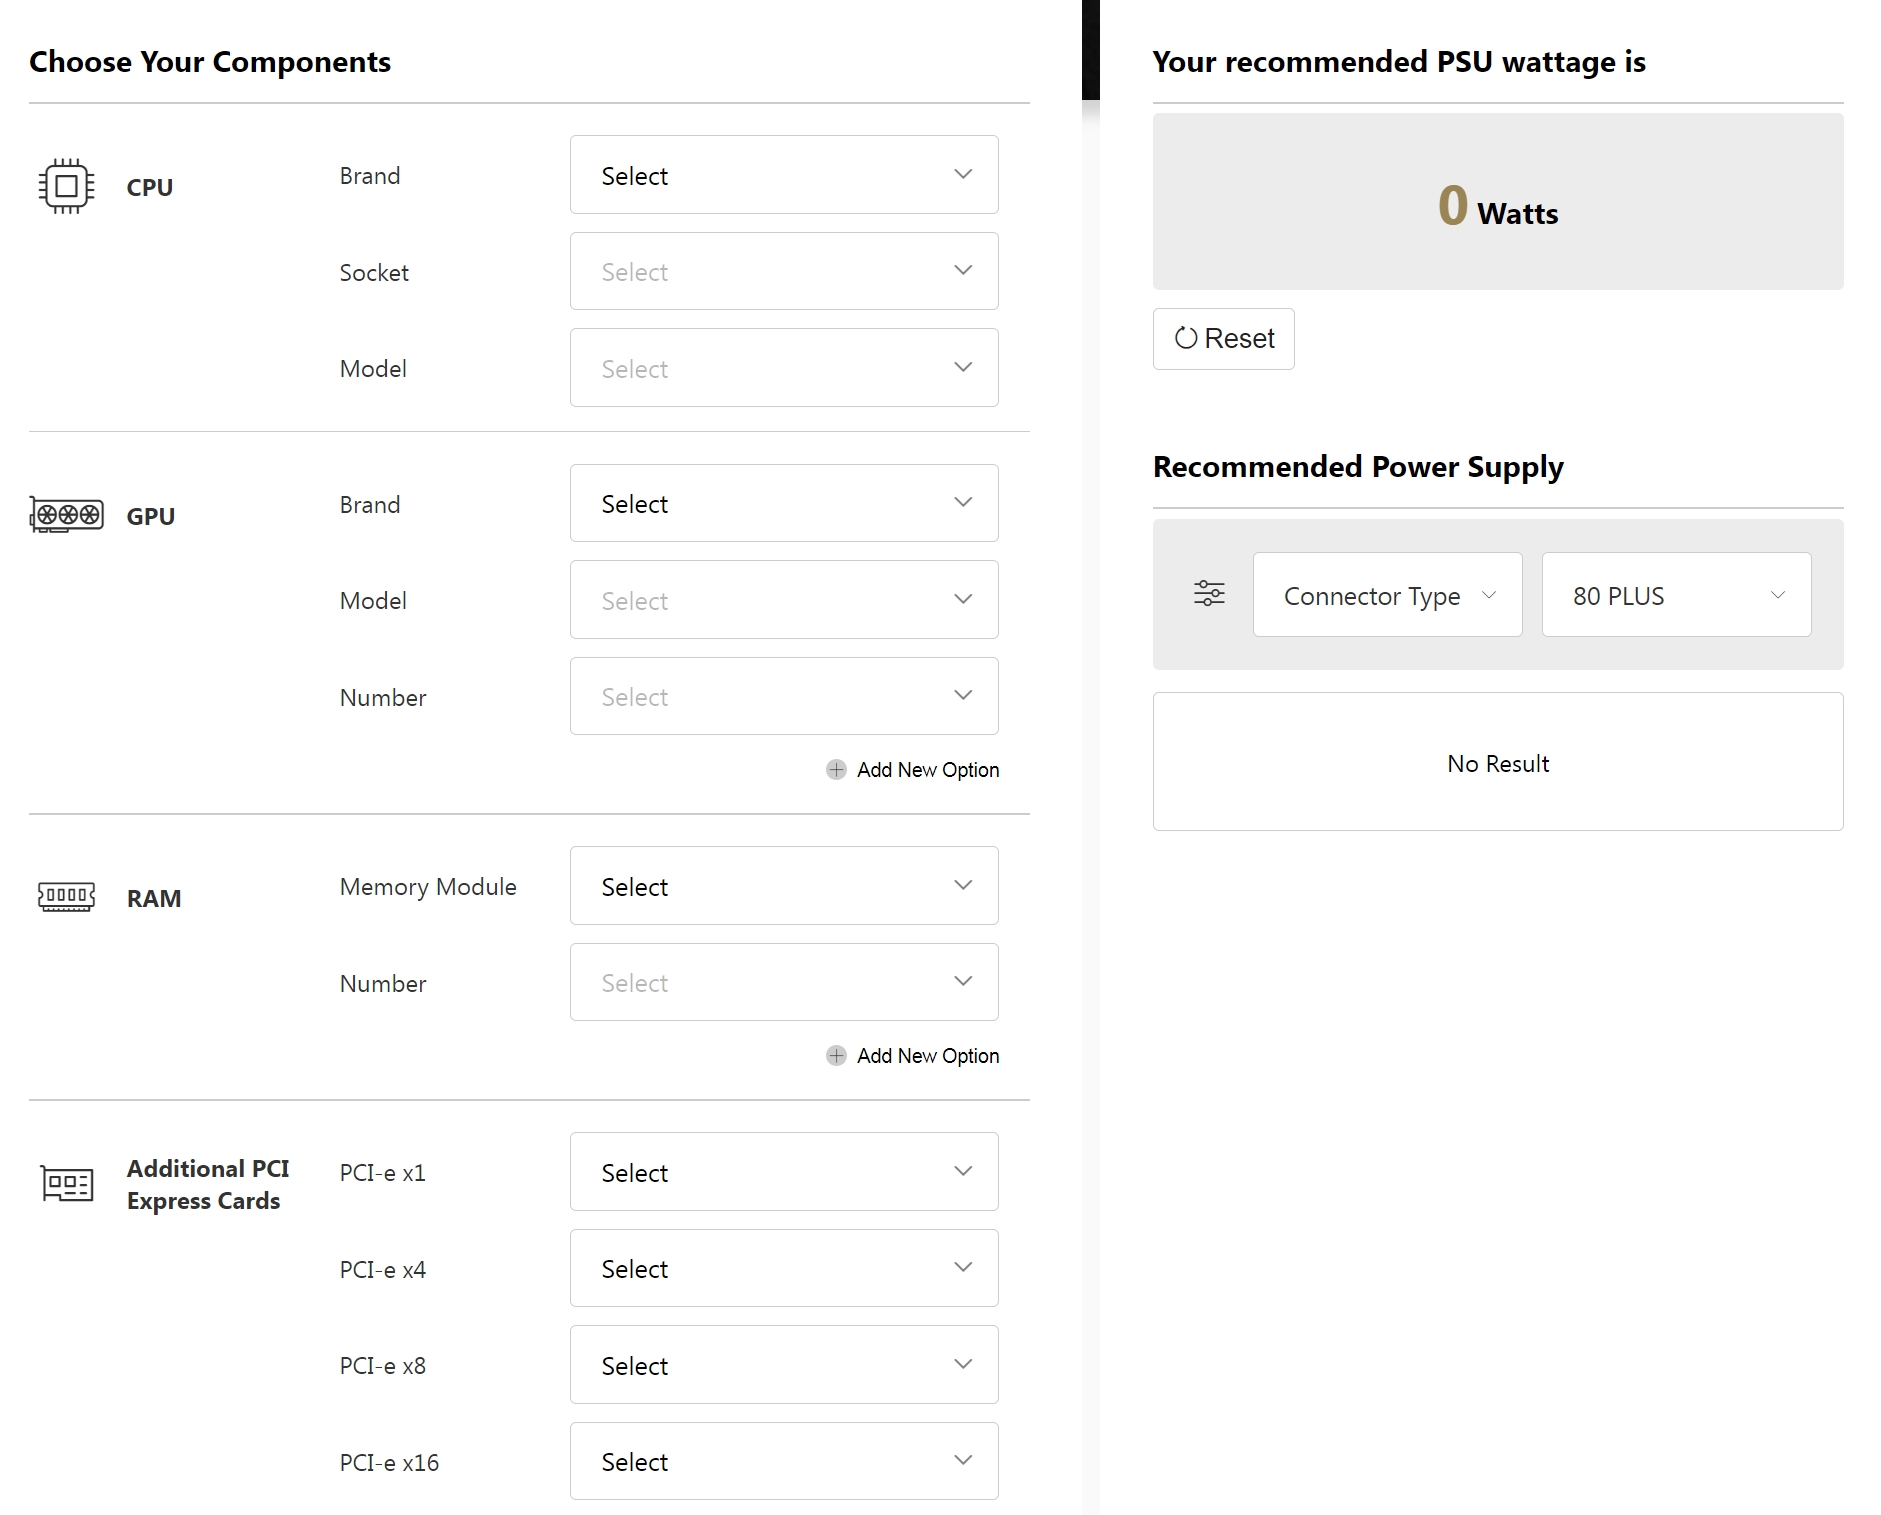
One big question many builders encounter when buying components is that "How much wattage do I need in my PSU to make my PC work?" Don't underestimate this issue, for buying a PSU with an unfitted wattage can affect the upgradability of your PC in the future. If you buy PSU with insufficient power supply, it might not have enough output cables for other component such as GPU. Also, your computer may encounter hiccups and system crashes from time to time. MSI Power Supply Calculator can help you with this problem.
Check out here : https://www.msi.com/power-supply-calculator
FAQ
Want to find quick answer?
When you start to understand how PC building work, there must be bunches of questions. You are not alone, we've listed some commonly asked questions and organized into several categories.
Hard disk drive (HDD): Inexpensive and offers higher storage capacity, but relatively slow and large in size
Solid state drive (SSD): Lower capacity, medium size, higher price but faster speed.
- CPU
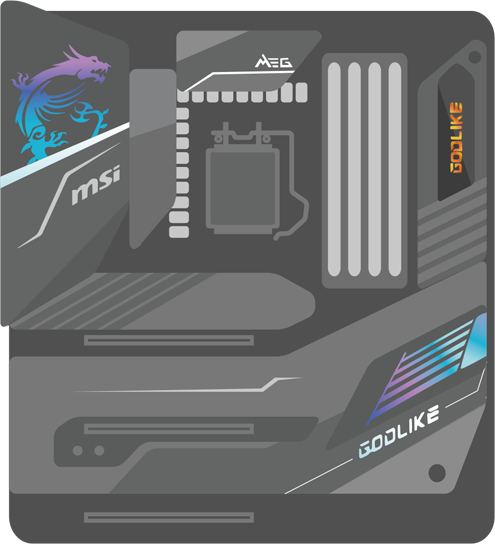
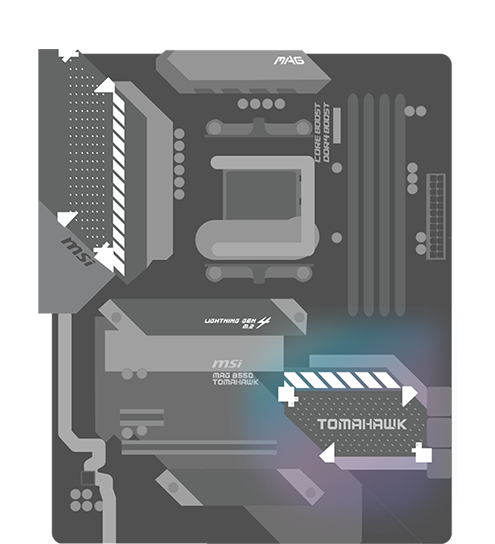
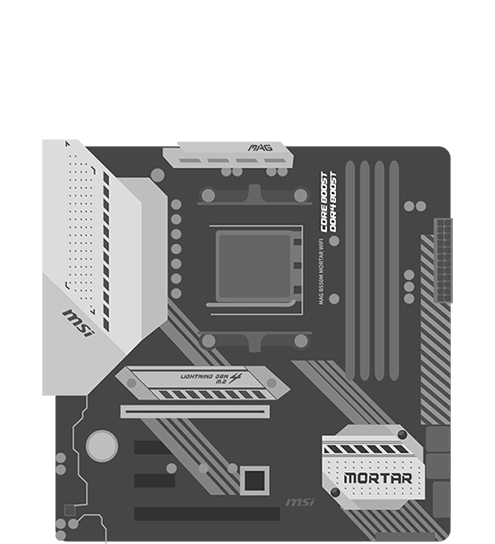
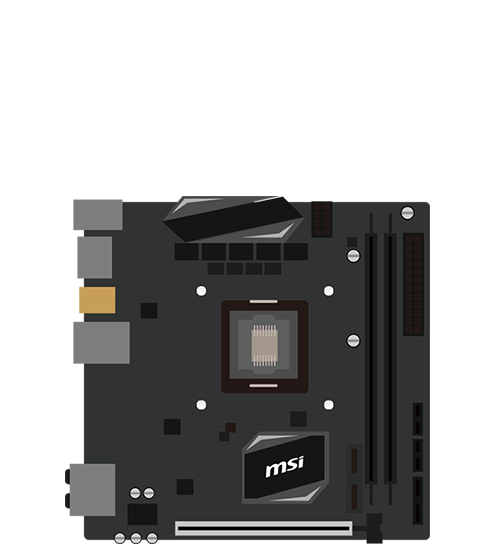
- Motherboard
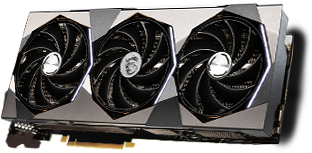
- Graphics Card
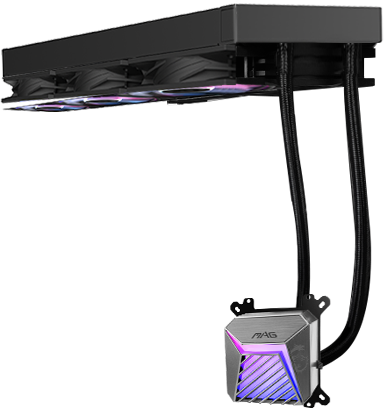
- CPU cooler
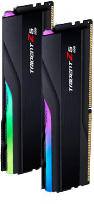
- Memory
- Storage Devices (HHD or SSD)
- Power Supply
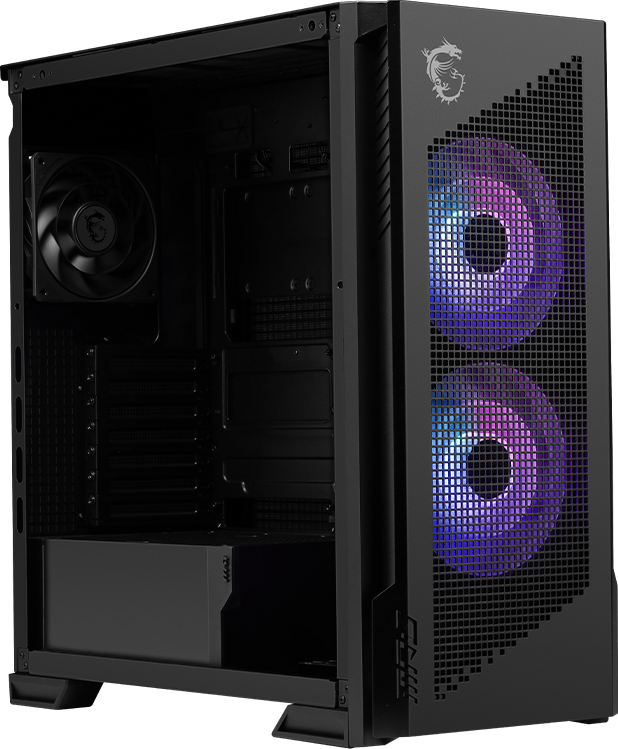
- Case
- Peripherals (Keyboard, Mouse, Headset)
- Monitor
For details, you can visit: https://www.msi.com/blog/new-usb-standard-usb-3-2-gen-1-gen2-explained
- choose a CPU cooler with corresponding brackets that supports the socket on the motherboard.
- Each CPU cooler supports a different thermal design power (TDP), indicating the upper range of heat output that it can handle. More powerful CPUs need better coolers to ensure stable operation.
- Choose a cooler that fits your case. Powerful coolers often have large heat sinks, so it is important to choose a cooler that can fit into your case without obstructing other components.
- What is the form factor of your motherboard, EATX, ATX, MATX or Mini-ITX?
- What hardware you'd like to install?
- What sort of cooling system you want to use?
- Do you want to customize RGB lighting and show up?
- Step 0: Preparation
- Step 1: CPU Installation
- Step 2: Memory Installation
- Step 3: M.2 Installation
- Step 4: CPU cooler Installation
- Step 5: Motherboard Installation
- Step 6: Storage Installation
- Step 7: Graphics Card Installation
- Step 8: Power Supply Installation
- Step 9: Front Panel Connection and Cable Management
- Step 10: Operation System Installation
- Press down on the ejector tabs that are located at the ends of the memory sockets.
- Check the memory module installation order outlined in the motherboard manual, and make sure which the suggested matching memory slots to insert first.
- Push the modules down until you hear a "click" as the retention clips are pushed upwards and lock the module.
- Check the definition of pin headers on the purchased RGB accessory and the motherboard (for example, 12V/5V)
- Plug the 4-pin (3-pin) RGB connector to the RGB header on the motherboard
- Plug the power connectors additionally when connecting an RGB accessory if necessary
- For fans, connect to the fan connectors on the motherboard
- For non-fan products, connect to the 4-pin connectors of the power supply
For details, you can visit: https://www.msi.com/Landing/mystic-light-rgb-gaming-pc/mystic-light