How to Upgrade Your Prebuilt Gaming PC: A Complete Guide for Gamers and Streamers
Desktops
For years, buying a prebuilt gaming desktop meant making a compromise: you got immediate plug-and-play satisfaction, but you started a countdown to obsolescence. That’s exactly why traditional OEM prebuilts earned a bad reputation for proprietary power connectors, custom motherboards, glued-in components, and cases with zero airflow.
When a new generation of GPUs or CPUs arrived, your only option was to discard the entire system and start over.
That paradigm has shifted with a new class of prebuilt desktops that use standard components – bridging factory convenience and DIY customizability. Modern rigs, like the MSI MAG Infinite Z (AMD) and MSI MAG Infinite S AI 2nd (Intel), for example, use standard form factors, off-the-shelf components, and leverage modular case designs.
Whether you want higher frame rates on a 1440p monitor, smooth Twitch streams, or readiness for tomorrow's AAA games, here is how to upgrade a modern prebuilt PC step by step.
The Spec Sheet Audit: How to Check if Your PC is Upgradeable
Before buying components or grabbing a screwdriver, make sure you double check what your machine supports on the manufacturer's technical specifications page.
When reviewing a specs page, focus on four key aspects:
- Motherboard & Form Factor: Look for standard form factors like ATX, Micro-ATX, or Mini-ITX. Standard chipsets (like AMD B650/X670 or Intel B760/Z790) signal standard pinouts and mounting layouts instead of a locked proprietary design.
- Power Supply Unit (PSU): Check the wattage, efficiency rating (e.g., 80 PLUS Bronze/Gold), and form factor. A standard ATX power supply lets you upgrade wattage later, while non-standard or proprietary PSUs restrict future GPU upgrades.
- Expansion Slots & Clearance: Check the number of available DDR5 DIMM slots (2 vs. 4) and M.2 PCIe NVMe slots. Verify chassis dimensions to ensure clearance for full-length, multi-slot graphics cards.
- Cooling & CPU Socket: Note the CPU socket type (e.g., AMD AM5 or Intel LGA1851). Standard sockets allow drop-in CPU upgrades later, while standard mounting points fit aftermarket air or liquid coolers.
Memory & Storage: The Fastest Performance Win
System memory (RAM) and solid-state drives (SSDs) offer the easiest, most cost-effective performance boost. So, if you run OBS Studio, Discord, chatbots, and multiple browser tabs while playing games like Cyberpunk 2077 or Starfield, 16GB of RAM quickly becomes a bottleneck.
Upgrading Memory (RAM)
- Why do it: Upgrading from 16GB to 32GB or 64GB of DDR5 RAM eliminates micro-stuttering, improves 1% lows, and keeps background streaming apps smooth.
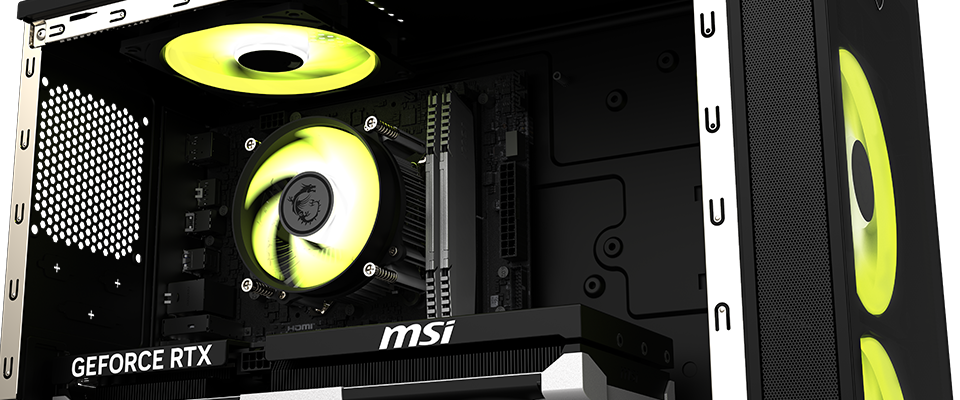
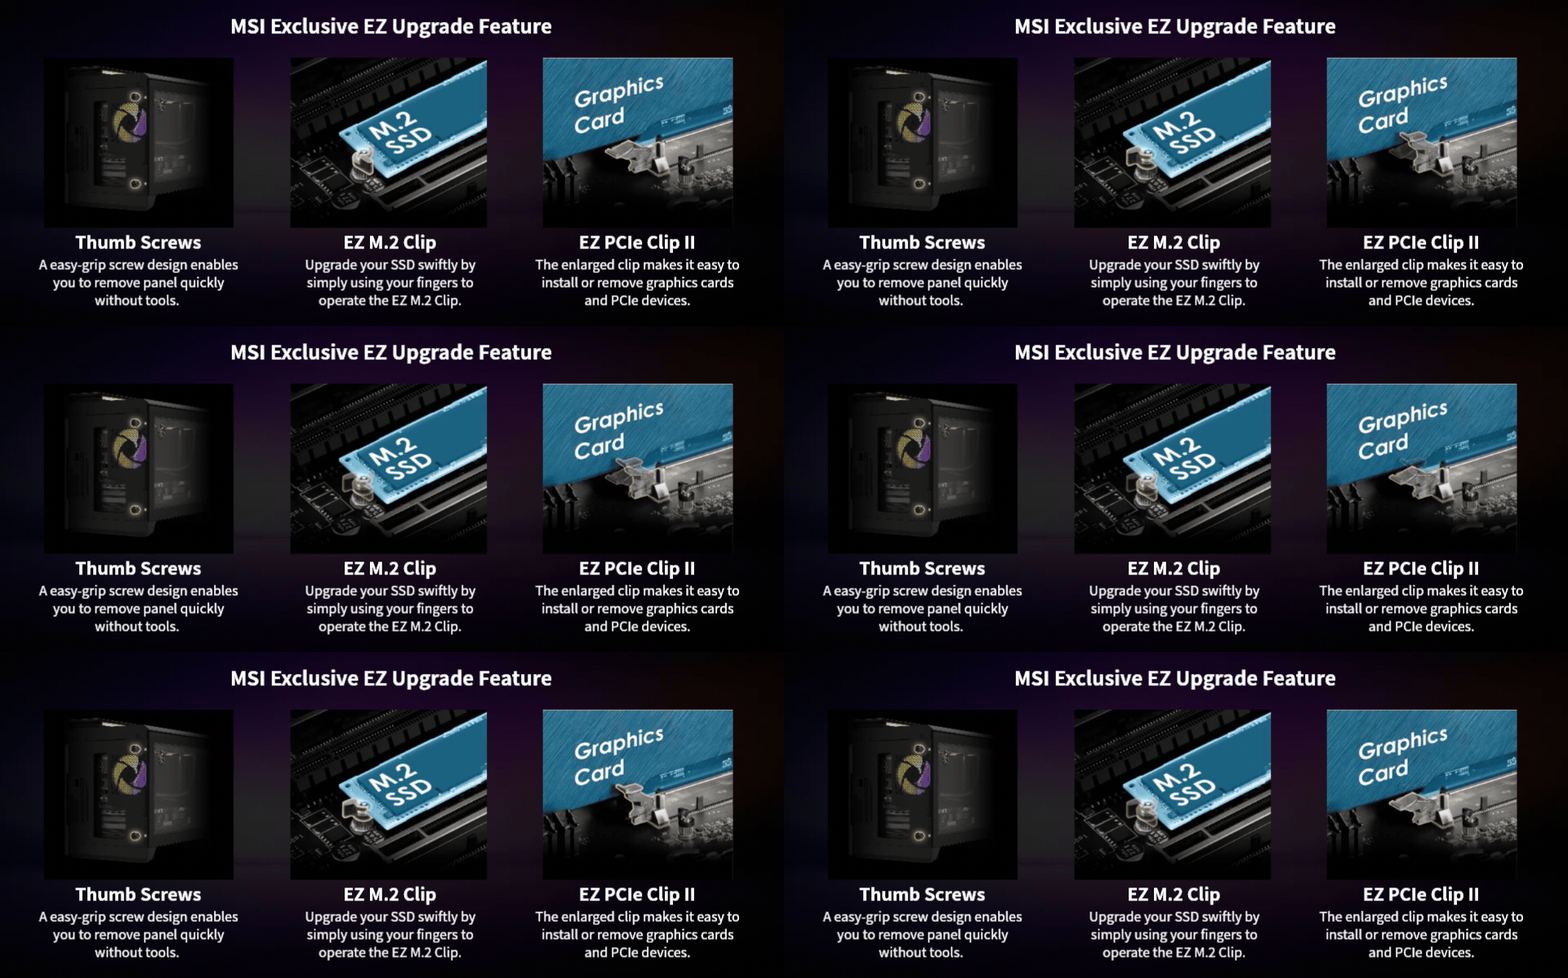
- How it works: Unlatch the side panel using the rear thumbscrews. Locate the DDR5 DIMM slots with push-down latches. Align the notch on the RAM stick with the slot, press firmly on both ends until the latch clicks, and you are done.
Expanding Storage
- Why do it: Modern games routinely exceed 100GB to 150GB. What’s more, storing game libraries, raw footage, and active editing projects requires fast NVMe PCIe Gen 4 or Gen 5 storage.
- The Easy-Install Advantage: Traditional M.2 installation required tiny, easily lost screws. Modern designs use mechanisms like the EZ M.2 CLIP, letting you secure an M.2 SSD with a quick twist – no screwdriver needed. Open chassis layouts also offer standard 2.5-inch and 3.5-inch bays for extra drives.
Graphics Card Swaps: Maximizing Frame Rates & Encoding
The Graphics Processing Unit (GPU) is the heart of any gaming setup. And upgrading your GPU enables gaming at higher resolutions, ray tracing, and dedicated hardware video encoders (like AV1 or NVENC) to offload streaming from your CPU.
Crucial Pre-Upgrade Checks
- Physical Clearance: Measure the length, height, and slot thickness of the target GPU against your case dimensions. You should find this info on the technical specs pages of the case and GPU.
- Power Supply Capability: Ensure your power supply delivers enough wattage and includes the required cables, like standard PCIe 8-pin or 12VHPWR (16-pin) connectors.
Swapping the Card
Unlike proprietary systems that solder GPUs or lock PCIe slots behind custom brackets, standard mid-tower cases make GPU swaps simple:
- First, power off your PC and disconnect the power cable.
- Open your side panel. Remember, this might vary from manufacturer to manufacturer so make sure you check your manual for instructions.
- Unplug the GPU power cables.
- Unscrew the expansion slot bracket screws on the back of the case.
- Release the PCIe slot latch at the base of the primary x16 slot. Mechanisms like MSI's EZ PCIe Clip II use an enlarged lever so you don't have to wedge a screwdriver into a tight space.
- Pull the old card straight out, seat the new card until it clicks, secure the rear bracket screws, and plug in the power connectors.
Processor & Cooling Upgrades: Powering High-FPS Streams
When frame rates drop during heavy multiplayer action or stream encoding skips frames, your processor (CPU) is usually the bottleneck. High-bitrate software encoding and heavy multitasking rely on high core counts and single-threaded throughput, which is why the CPU is under heavy load at those times. At this point, you might consider upgrading your processor to something more modern/more powerful.
Sockets and Motherboard Longevity
A standard motherboard socket lets you upgrade your CPU without replacing the whole computer:
- AMD Platform (MAG Infinite Z): Built on the AMD AM5 platform, this socket supports multiple Ryzen generations (like the Ryzen 9000 series). You can drop in a faster CPU years later with a simple BIOS update.
- Intel Platform (MAG Infinite S AI 2nd): Built on Intel's LGA1851 socket, this platform supports multi-core Intel Core Ultra processors for AI workloads, gaming, and creative applications.
Upgrading Coolers and Airflow
Faster CPUs demand better heat dissipation and standard cooler mounting points used on more modern prebuilts let you swap factory air coolers for high-performance dual-tower coolers or 240mm/360mm AIO liquid coolers.
Modern compact cases, like MSI's 25-liter chassis, use isolated cooling zones (such as Silent Storm Cooling AI or Glacier Armor). Separating the GPU, CPU, and power supply ensures high-wattage components receive direct, uninhibited airflow.
Power Supply & Case: The Long-Term Backbone
The difference between a disposable prebuilt and a long-term investment comes down to the power supply unit (PSU) and case wiring.
Feature
Locked OEM Prebuilts
Standard Component Rigs (e.g., MAG Infinite Series)
Power Supply
Proprietary shape, custom pinouts
Standard ATX / SFX form factor, standard 24-pin
Motherboard Layout
Non-standard mounting, fused front panel
Standard ATX / Micro-ATX / Mini-ITX form factors
Upgrade Limit
Low wattage, zero extra cables
Modular cables, headroom for 850W+ PSUs
Reusability
Near zero
High — move parts across custom builds
Rigs like the MAG Infinite Z and MAG Infinite S AI 2nd use standard 24-pin motherboard connectors and ATX power supply mounts – making PSU upgrades to 750W or 850W+ painless. Standard front-panel headers and fan pinouts also mean you can move your components into a new chassis down the road.
Conclusion: A Smart Path for Gamers and Streamers
Upgrading a prebuilt gaming PC shouldn't require soldering or figuring out/finding proprietary adapters. When a desktop uses standardized components, you get out-of-the-box stability and warranty support today, plus a clear upgrade path tomorrow.
Standardized platforms, whether you choose AMD's socket longevity with the MAG Infinite Z or Intel's AI performance with the MAG Infinite S AI 2nd, ensure your rig evolves alongside your gaming experience and streaming requirements.